What is Lens Fungus: – 2,400 Million years ago fungus developed. Long before most life on the planet and it’s been going ever since. These days if you’re an avid photographer with a penchant for classic lenses you’re most likely to discover it in a lens and will want to remove lens fungus quickly.
So, what is it? How does it get there? And, most importantly of all how do you remove lens fungus? It’s one of the questions that most often comes up on photography forums and message boards so to save me having to type this out repeatedly here’s an article that answers everything you ever wanted to know about fungus and how to get rid of it.
What is it? …Fungus is one of the earliest known life forms on the planet. Its spread by microscopic spores carried in the air. Right now you are surrounded by these spores, they are on your clothes, in your food and in the air you are breathing and both fungal spores and us get along pretty well. Many types of fungi are positively beneficial (penicillin for one, yeast for another). Many fungal types assist the breakdown of other organic matter but you didn’t come here for a biology lesson.
How does it get in your lens? …Well fungal spores are quite literally everywhere. When you focus a lens you are basically pulling in air, lenses are seldom sealed airtight and even if they were, on a vintage lens the spores would have been present in the factory, on the people assembling the lens and on the actual material in the lens. People more used to the modern world of microchips think in terms of clean rooms, sterile, devoid of any small motes. That’s not how classic lenses were assembled. The environment would have been more akin to a factory or, in some cases, a shed. So, the spores get in your lens. What happens next?
The spores are basically inert until they get good growing conditions. What fungi likes is dark and damp. And that’s why many vintage lenses survive ok. Guess what? They were being exposed to light and generally dry conditions. Anywhere with high humidity like tropical countries create more perfect conditions for the fungi to grow. Of course a lot of lenses were kept in sub optimal conditions – left in storage for many years in people lofts and garages. Some of these locations provide heat, humidity and of course darkness. Conditions essential for the fungal spores to turn into something nasty like glass eating fungus.
To make matters worse for you but nicer for the fungus is the fact that many older lenses used organic elements in their lubrication. Basically dead dinosaur guts. These organic based lubricants have a tendency to vaporise over time and create the classic lens haze. Lens haze is cleanable in most cases but the organic elements in the oil provide food stuffs for the fungal spores. It’s not a given that a hazed lens will also have fungus by any means but hazy lenses are often hiding fungus in them.
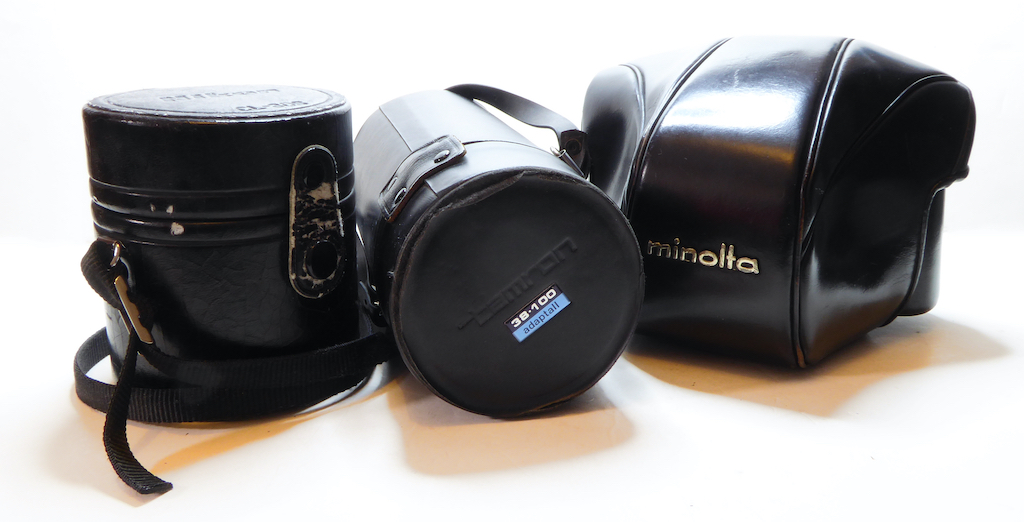
One of the worst things to store lenses in is leather and canvas bags and lens pouches and of course many lenses were supplied with leather pouches or placed in close proximity to leather like camera bags. Leather and fabric create a great starting point for fungus – its organic for a start and quite often soaks up moisture. People will often wrongly assume one lens has caused contamination of other lenses when all of the gear is kept in the same bag. The truth is much more likely to be one lens has shown signs earlier than the others but the storage is the basic problem. Avoid damp, humid conditions. Get the lenses out in air and periodically expose them to sunlight it’s the dry air and light which keeps fungus at bay.
Given time and a dark and humid environment the microscopic spores grow into various types of fungus and most of these can eat lens coatings and even the glass itself if left unattended.
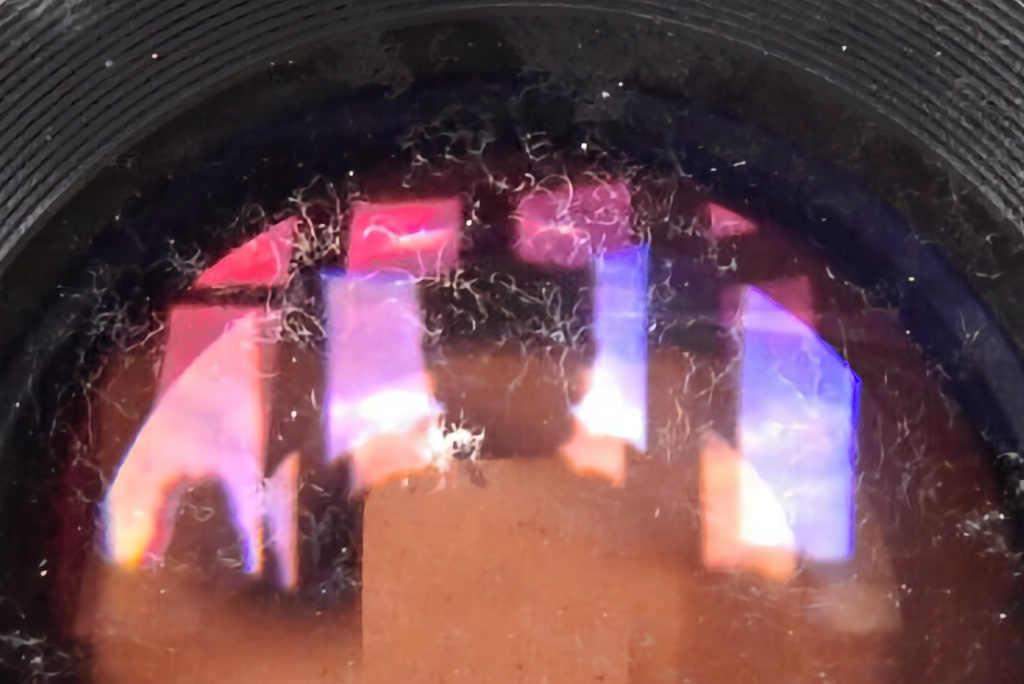
How to spot it? …Fungus can be very severe and easy observable in lens or it can hidden. The best way to check a lens is a simple torch test. Hold a torch at an angle to the lens and look through the other side. Fungus will show itself as either strands or blooms. Strands look like strands of cotton, blooms look like misty patches in the lens. Even apparently mild fungus can start eating into things so its needs to be get gone pronto. It won’t get better with time. Heres some pictures of what it can look like and a prognosis for the lens.
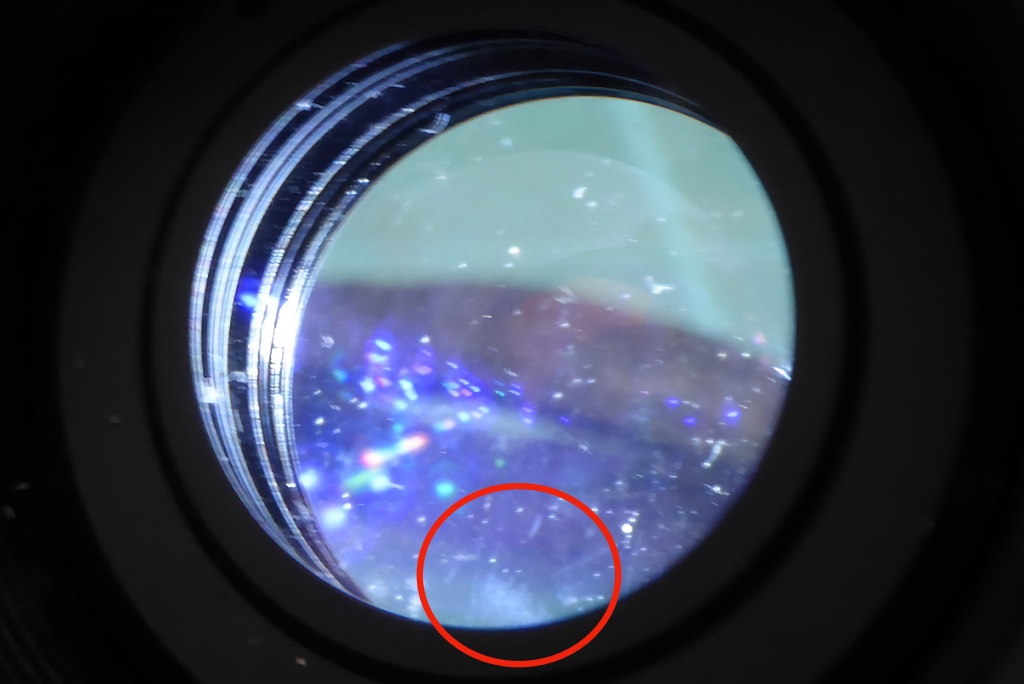
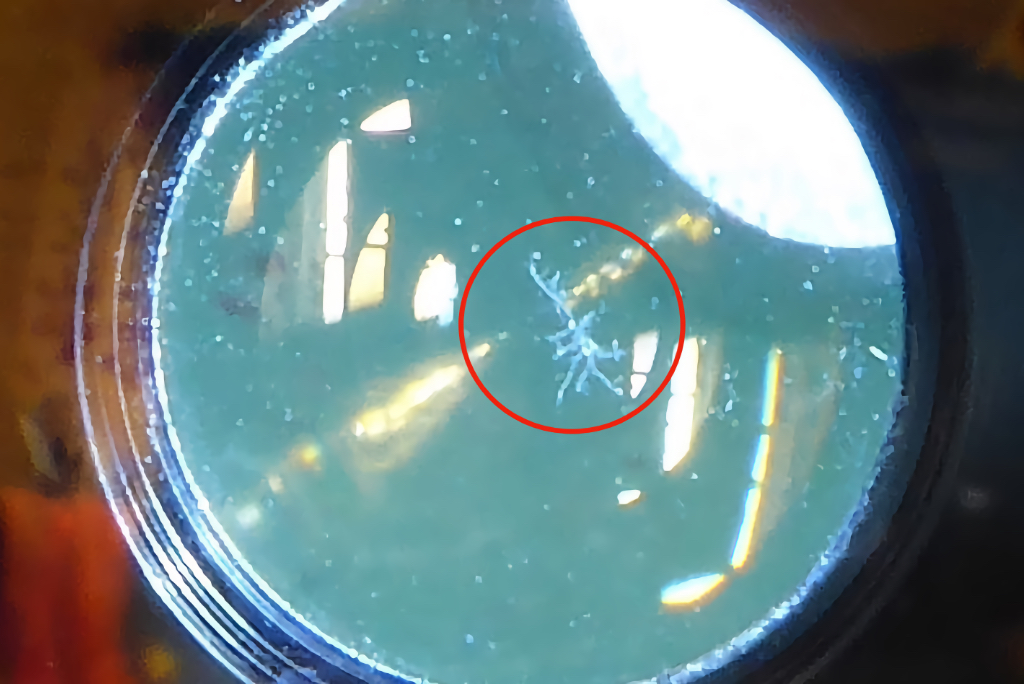
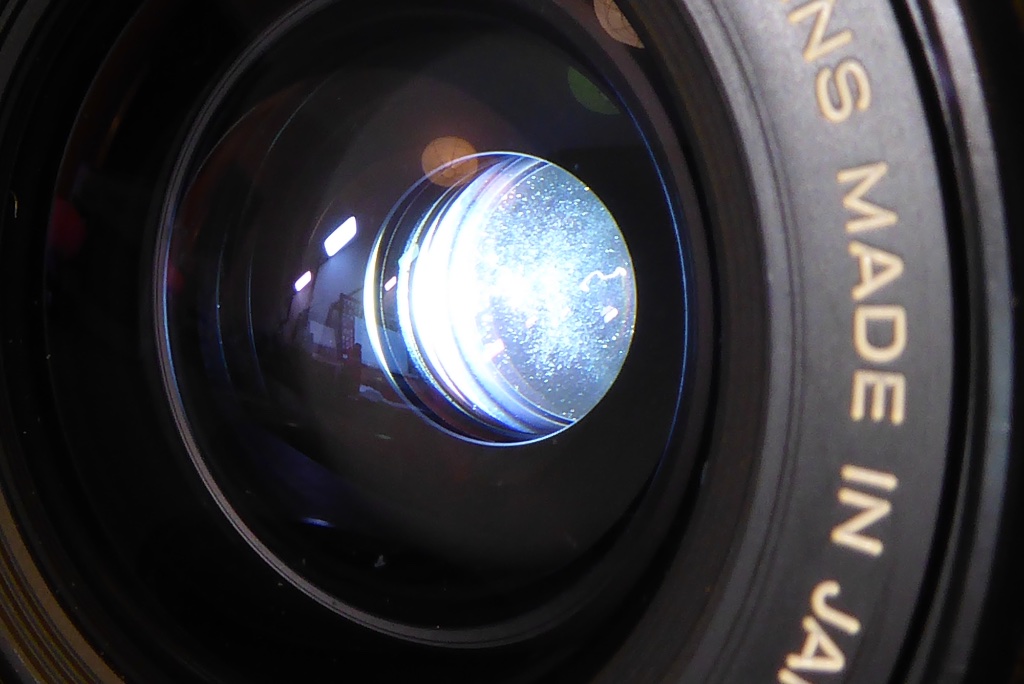
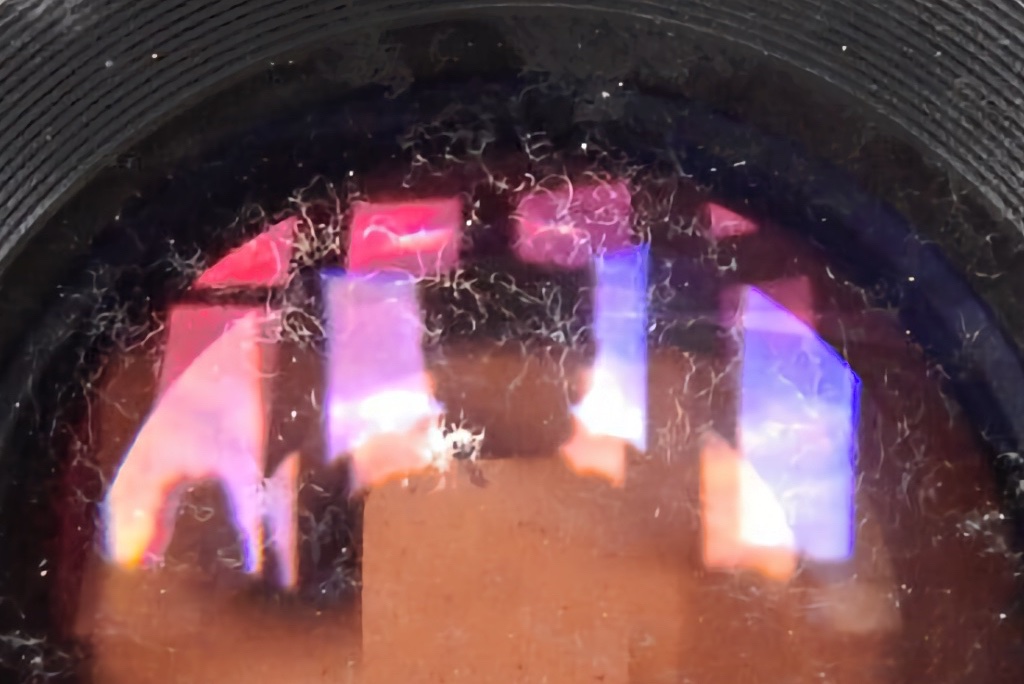
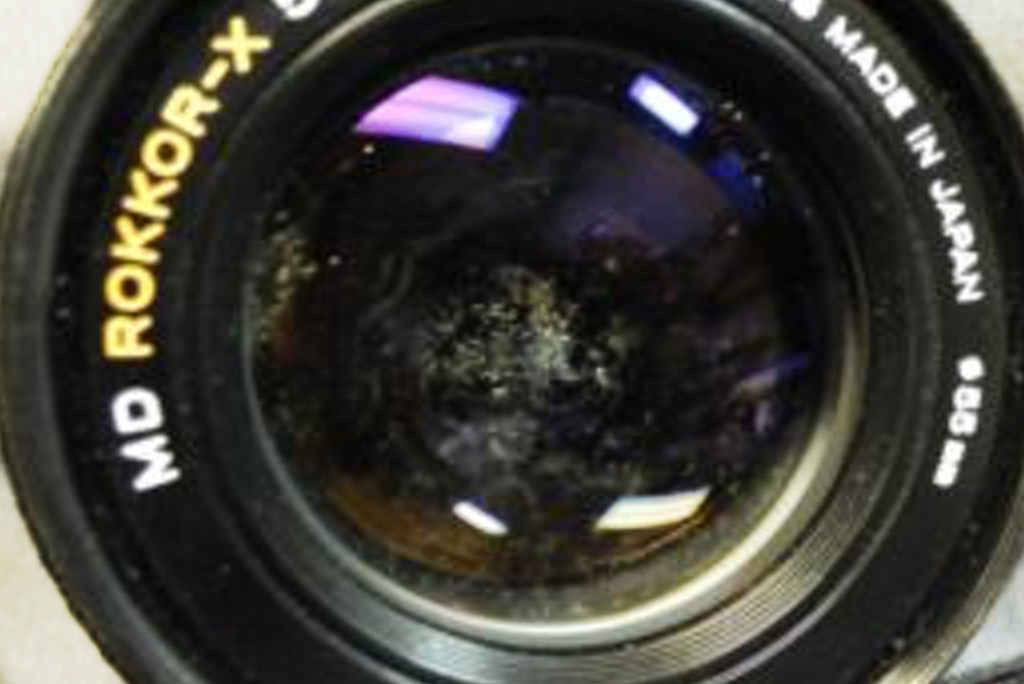
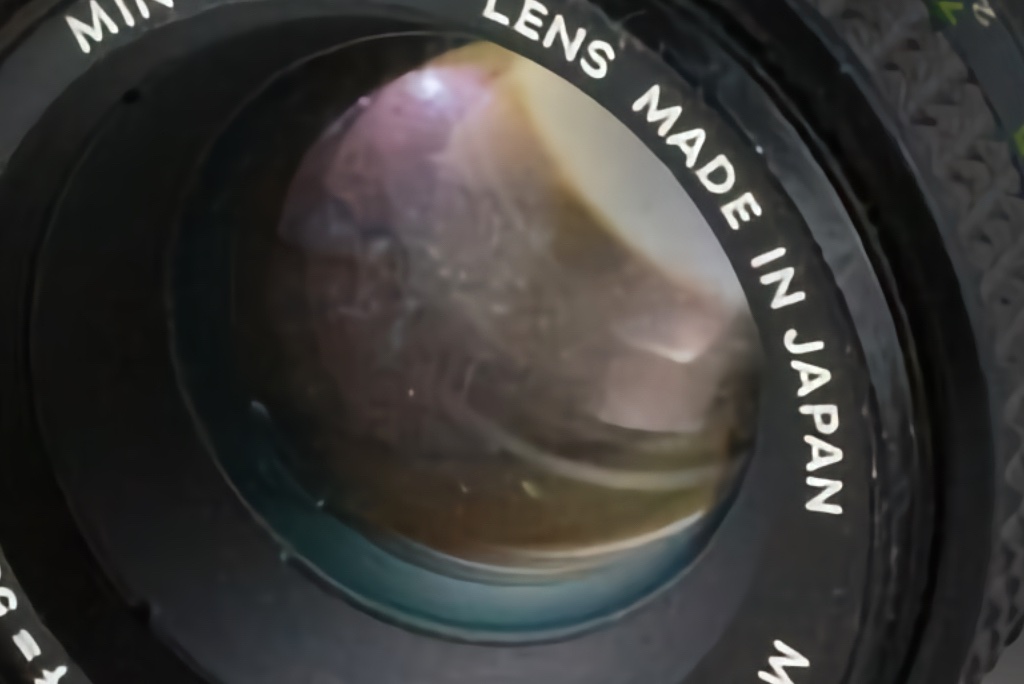
Cleanable but risky due to fragile coatings.
It takes a little experience to know when a lens is cleanable and when it’s not as there are so many different lenses out there with their own issues. It also should be noted that almost any classic lens will have small dust particles in the lens when subjected to a lens test. This is perfectly normal and these lenses would have looked no different back when they were made. It also takes some experience to recognise other lens conditions such as haze and sometimes the anti-reflection coatings in the lens can look like mild haze under a torch test. Haze itself can often be hiding bloom type fungus.
Cleaning fungus from a lens is almost always a risk. There’s simply no way of telling at the outset how well the lens will respond to cleaning and no reputable technician will ever give a guarantee. There are quite a few factors that can affect the outcome.
How much damage has the fungus done? You can’t be sure until you attempt to clean it. It may simply clean away or it may leave behind damage to the coatings or the glass. Can the lens coatings take the cleaning needed? Some lenses have relatively soft internal coatings and these can fail with a simple wipe if the fungus has weakened them. Some coatings cannot cope with the chemicals needed to kill the fungus. These are all part of the game of Russian Roulette with lens cleaning and trying to remove remove lens fungus.
So the bottom line is fungal cleaning is ALWAYS a risk. There just isn’t anyway of knowing in advance without experience.
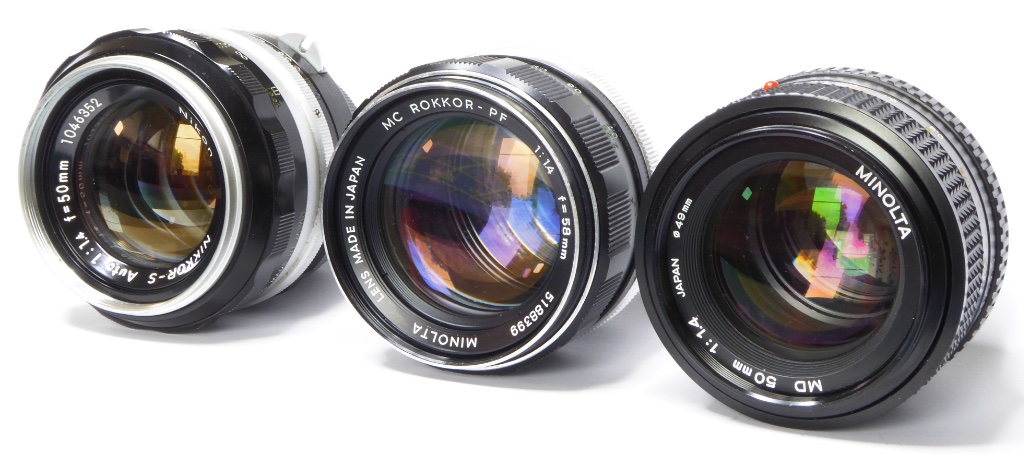
To add to the other headaches not all lenses are cleanable. Many lenses have sealed element groups. This is common in lenses from the mid 1970s where manufacturers trying to gain a price advantage over their competitors cut down on components and assembly time by simply building using a plastic encapsulation for the lens groups.
A Minolta MC prime lens usually has separate elements bound together into groups using spacers and threaded rings. Later Minolta prime MDs use only two groups of elements which are each encapsulated in a plastic mounting.
There’s no getting between the elements on some of these lenses so if the fungus is between the elements in a group theres not much that can be done. This type of manufacturing was employed by almost all of the big makers like Nikon, Olympus, Canon, Pentax etc.
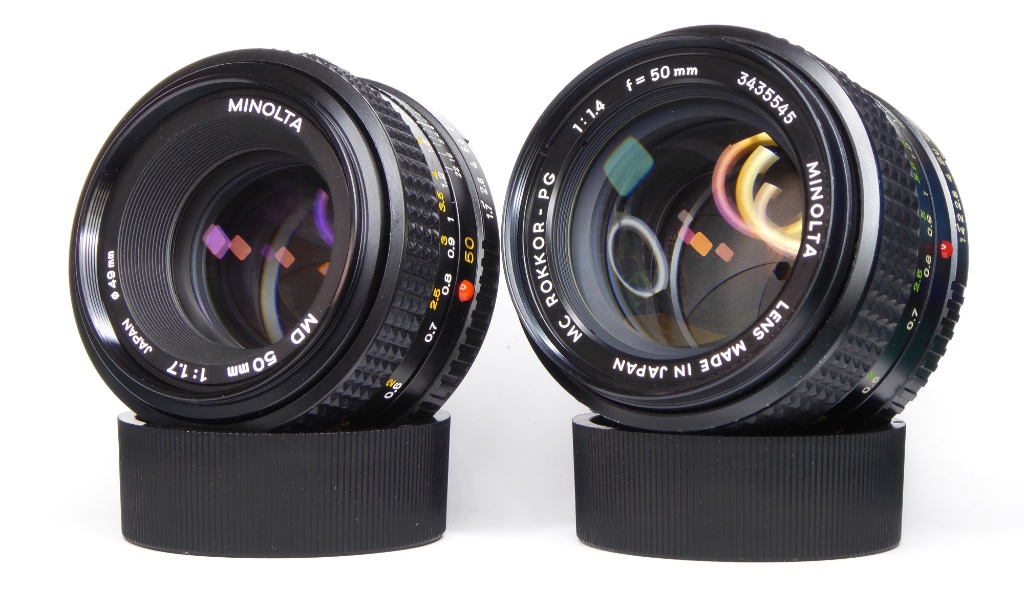
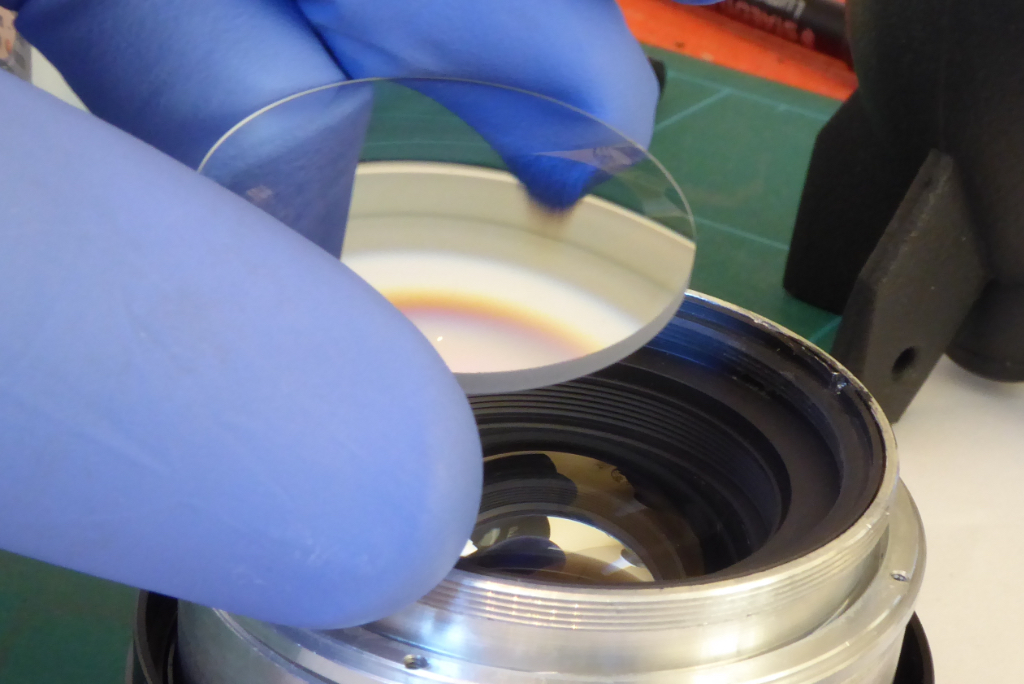
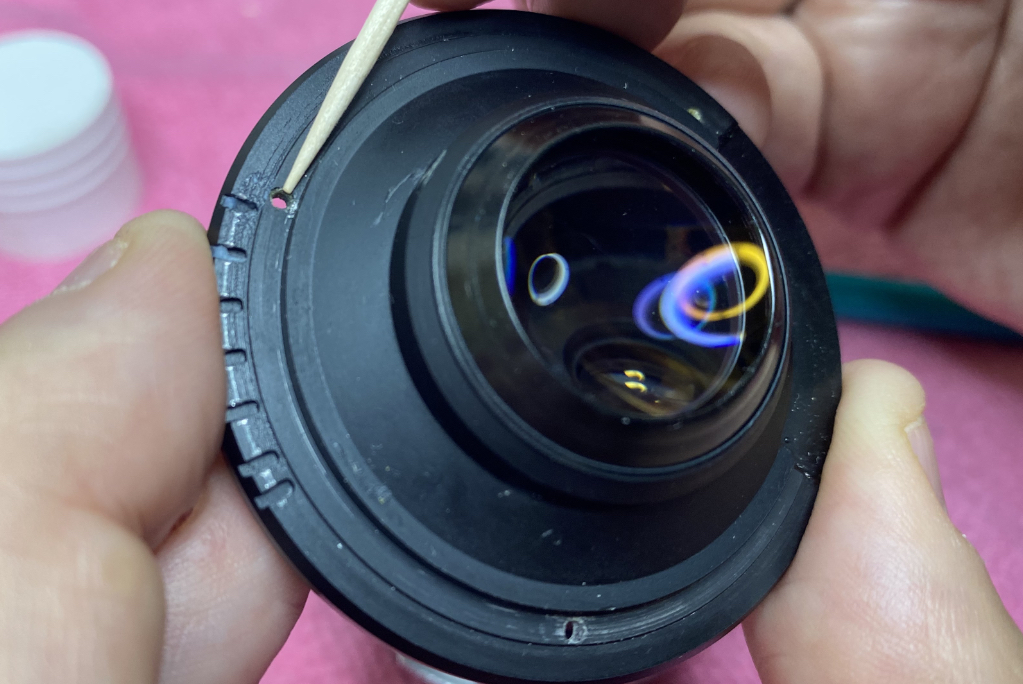
Even early lenses where it’s possible to remove individual elements can have booby traps in them. Soft coatings, specific orientation of the elements to one another within the group and even cemented doublets where fungus can grow between the cemented lenses. Plus if you take lens groups apart down to individual elements you will find it very hard to eliminate any dust without a fairly clean environment and a lot of patience.
It’s often stated on forums that UV light will kill fungus. It won’t. While UV may reduce any further damage, it relies on direct exposure to the fungus. Normal glass tends to block UV light so in order for UV to work the lens face has to be directly exposed. I routinely subject any lens that’s been cleaned to a powerful UV light source with the right wavelength to cause the most harm to fungal spores but that’s done while the lens is in pieces. A UV light box also creates ozone which is harmful to fungi so that’s a bonus.
So how do you remove lens fungus?
There’s no single answer to this. It will depend on a range of factors. Can you get to the fungus? If the lens uses encapsulated elements and the fungus is between elements in an encapsulated group there’s no way to get access so it’s a non-starter.
Without some experience of how some glass will react to cleaning its best to be careful. Be mindful of a medical rule which is ‘first do no harm’ and also do as little as possible.
I have seen people advised to take a lens completely to pieces so you can douse everything in Peroxide because spores will be in the lens. This is simply pointless. You will more than likely do more damage in a vain pursuit of inert fungal spores which, if the lens is well kept, will most likely never become a problem.
NEVER remove lens elements from their groups unless you have no choice. Minimise the amount of disassembly within a group to as little as possible and make sure you mark the lens orientation. Some lenses would have had a specific orientation when assembled and once this is lost it’s not possible without very specialised gear to get the lens right again. A second hazard is trying to get lens elements back into their groups without getting more dust in there than there was at the start. Finally, and it cant be overstated, some lens coatings within a group are very fragile and can react very badly to chemicals and improper handling.
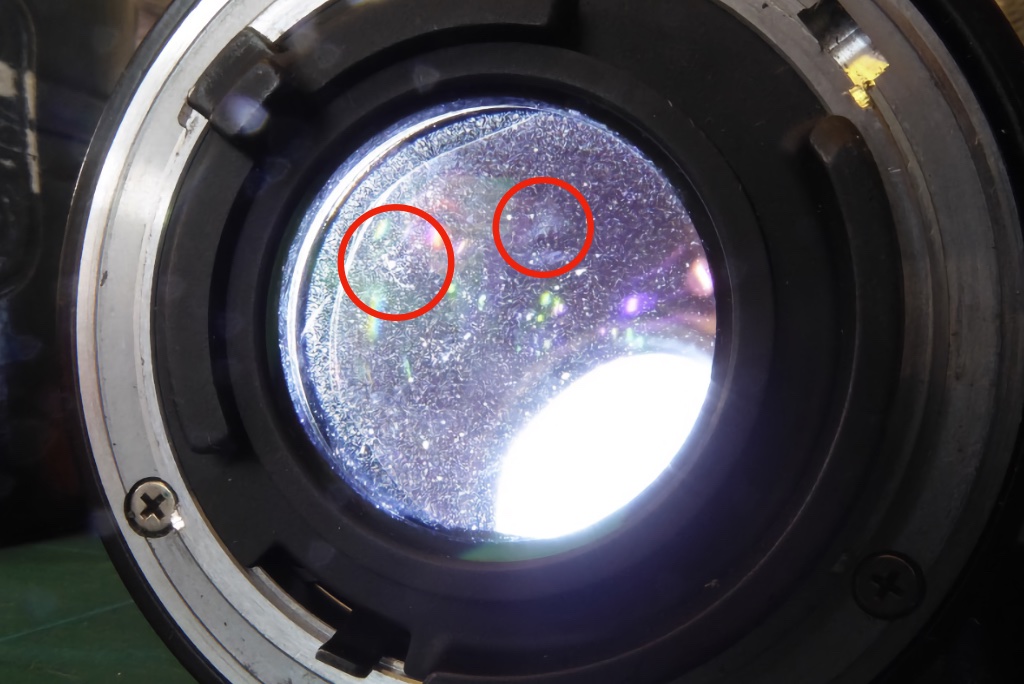
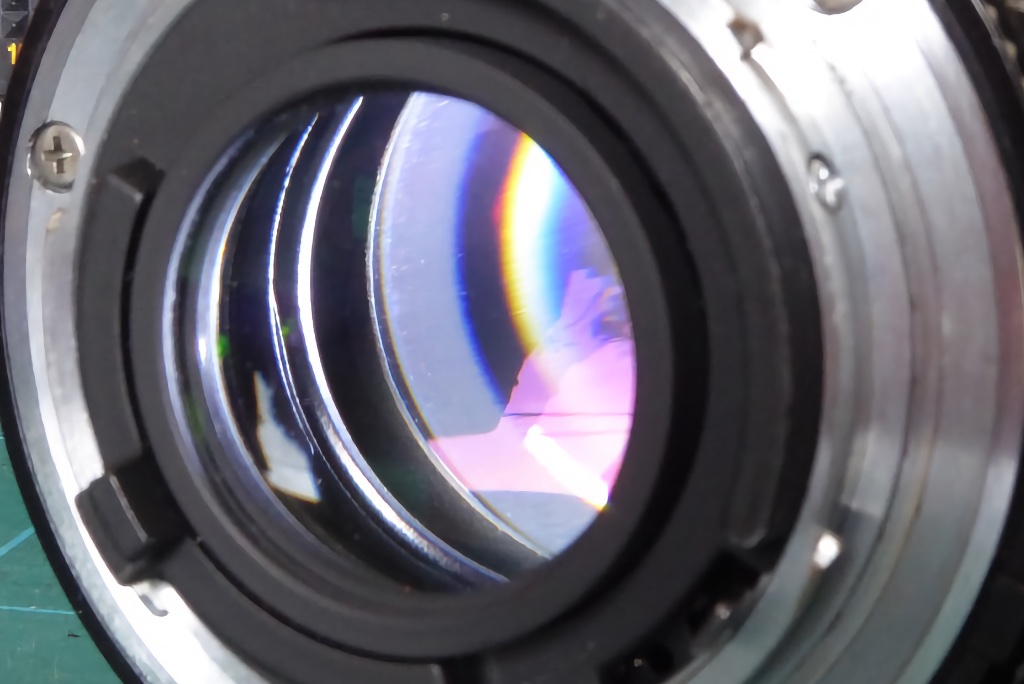
Cleaning processes
Here I will relate my own approach which is basically to gradually step up the cleaning process in stages and see how the lens copes. Don’t rush in with strong chemicals. There is much bad advice on how to remove lens fungus online from people who don’t really understand the nature of fungus. I have used these methods successfully on very many lenses and they do work. Generally failures are the result of chemicals damaging the coatings OR fungus eating the actual coating or the glass itself.
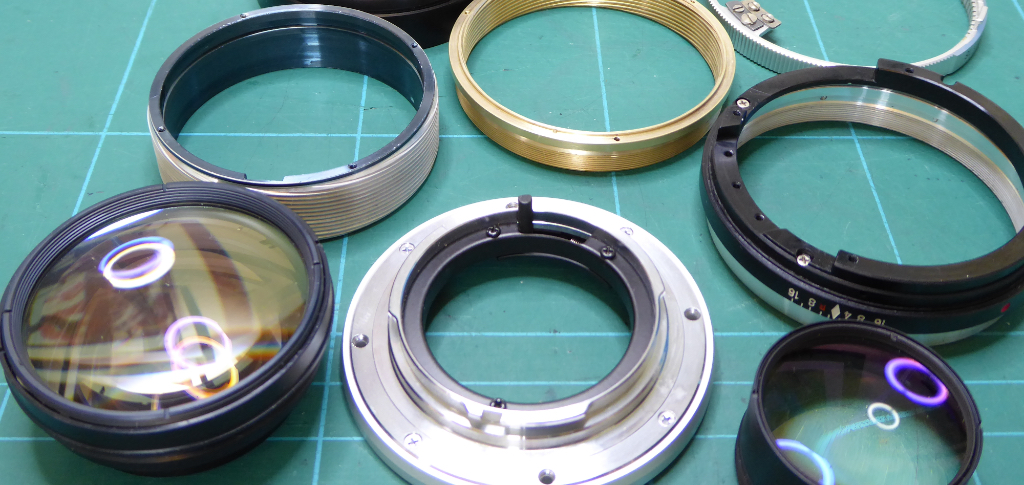
STEP 1 – Nose Grease. Simple and often surprisingly effective...
What! hang on, what’s nose grease and how the heck does it remove lens fungus? Nose grease is grease from the side of your nose in the creases of the outside of your nose. You can harvest it simply by rubbing your finger along the creases. It was traditionally used by watchmakers of fine mechanical pieces as nose grease has some amazing lubricating properties. It’s just slippy enough, doesn’t dry out and doesn’t migrate easily. It’s also mildly antiseptic.
So, you rub your finger against your nose to harvest a little and VERY gently wipe it on to the fungal area of your glass. Leave it for 15 minutes or so and then gently clean with a small amount of diluted Isopropyl Alcohol (50/50 with water) and the use some breath and lint free cloth to very gently buff the lens. CAUTION some lens coatings have very poor abrasion resistance – even a mild rub with a lint free cloth can take the coatings off. Notable lenses for this include the Minolta MCX series 50mm f1.7 where the front elements inner face can fail spectacularly with very little effort on your part.
Some people report good results using a mild hand cream. Most hand creams use a mild antiseptic which of course kills fungus. I have tried this but it failed to clean the fungus but to be fair on that lens the fungus was quite advanced.
Using nose grease…….I have had a Minolta MD 50mm f1.4 which had fungal strands on its inner faces. This was fortunate as its far more common between the sealed groups. Mindful of how fragile the inner faces on some Minolta lenses can be I used the nose grease method and it worked a treat.
STEP 2 – Isoprop. Yes it CAN work...
Apply some pure Isopropyl Alcohol to the affected area and then blow it with cold air from a rocket blower. See how the lens copes. If it’s cleaned it off then stop. Some strand like fungus will clean off without much effort and very weak chemicals. The name of the game is to try the mildest chemicals first. If the fungus is not well established it may simply wipe off. You wont have gotten the spores so thats why I strip down to clean the lens metal work out and give everything a hit of a UV lamp will help make sure the remaining spores are stunted.
This generally works on very mild bloom or strand type fungus. Isoprop wont kill the spores and its not lethal to fungus but it’s better to go easy rather than risk the lens with strong chemicals if at all possible.
STEP 3 – Peroxide. Lethal to organic life...
Time to get tough. Some fungus simply cant be killed or removed with nose grease or Isoprop. Dilute Peroxide is the start point. Peroxide is lethal to organic things like fungus. Normally I start at about a 50/50 mix with water. NEVER mix Isopropyl Alcohol with Peroxide it creates an acidic mix which can be VERY destructive. Apply the dilute Peroxide with a cotton bud sparingly to the affected area. Clean it off straight away with fresh water as Peroxide is quite a powerful chemical even at low concentrations and you don’t want the Peroxide doing more damage than the fungus. This will normally kill any fungus / remove lens fungus but some lens coatings will fail even with a dilute peroxide.
STEP 4 – Peroxide/Ammonia Mix. Carpet bombing has its risks…
Either apply a higher concentration of Peroxide OR use a mix of 50/50 Peroxide and Ammonia. This is a preferred method of many lens technicians but I am a dissenter on this. My reasons are these; Fungal spores are EVERYWHERE and to guarantee killing all spores you would need to use something like a surgical Autoclave or medical grade UV system ON EVERY SINGLE PART of the lens. Let’s assume you did just that and amazingly the lens could hold up under that sort of treatment – so what? The spores are in everything and the lens could easily be reinfected. Long term fungal protection is in the storage of the lens NOT in chemicals you apply during a strip down. I seldom use a powerful chemical mix such as Peroxide/Ammonia but it does have its uses for very stubborn fungus types.
For Peroxide/Ammonia treatment start with a very dilute mix (diluted with water) and increase strength but be aware once you start using powerful chemicals in strong mixes you can expect to see stuff like coating failure. This will often become apparent when you try to clean the lens afterwards. I have seen spectacular coating failures due to chemicals on the inner faces within element groups of Minolta MC series lenses and have been told by a reliable source that some Olympus lenses will fail in a similar fashion.
If I am using powerful chemicals like Peroxide I prefer to flush the lens with distilled water. It means the lens can be cold air blown dry and pure lab grade distilled water leaves no streaks which reduces any risk of polishing with a lint free cloth in case coatings have been weakened as some coatings have poor abrasion resistance.
A note of caution on ‘polishing. You need to be very gentle. Lenses are figured to wavelengths of light. Excessive or too harsh polishing can cause a lens to lose some of its figuring. You may not believe it but lenses are easily damaged by too frequent cleaning. Remember, you only want to remove lens fungus.
Once the fungus is gone from the glass the spores may still remain…
It’s impossible to get everything dead and as stated in this article even if you could the lens will be ‘breathing’ spores in each time it’s used. Normally though I will run all of the metalwork through a mild detergent or bleach and expose every affected element and all of the lens metalwork to an anti-bacterial UV lamp. A 20-minute exposure will be enough to seriously stunt any remaining spores. I NEVER disassemble groups unless there is no choice. Removing a lens group is easy and it’s possible to then clean all the metalwork involved in the helicoids and barrels. Taking lens groups themselves to pieces is sheer folly unless the fungus is between a group and you have no alternative.
Whenever a lens presents with fungus I will always strip all the metal work and clean it and replace the old lubricants with modern synthetic lubricants which tend not to haze and modern synthetic lubricants deprive the fungal spores with their foodstuffs.
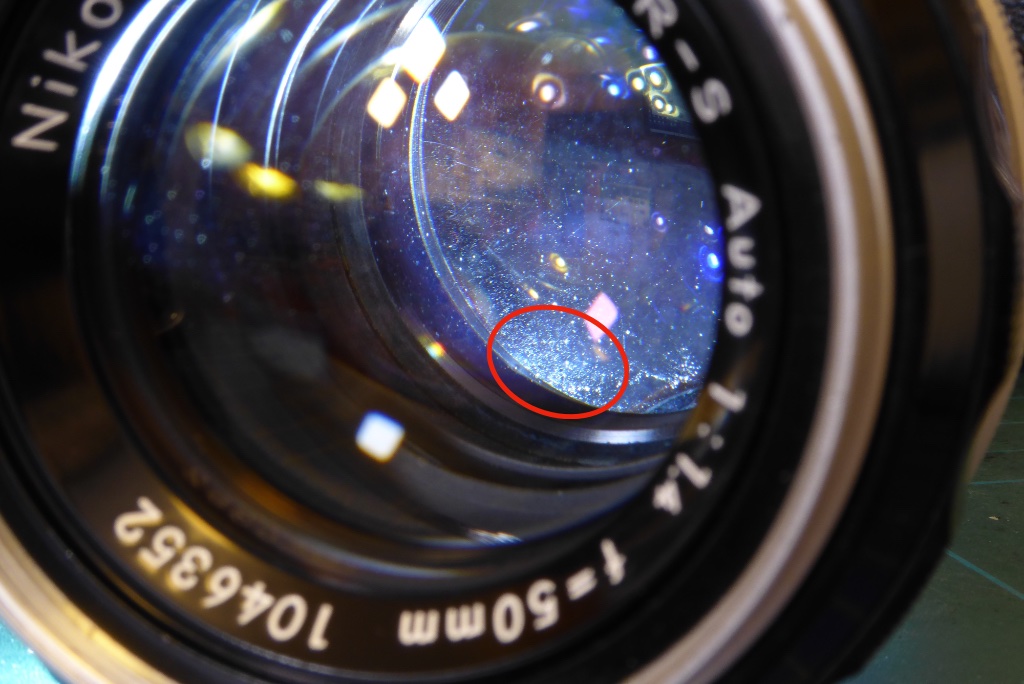
Finally… its best not to become overzealous or obsessed. Fungus needs removing as it will only get worse with time. If you run into a lens where after cleaning the fungus has done some permanent damage it’s not the end of the world. The Nikon AI in the picture above is one of my most used lenses. It has slight fungal damage which cleaning could not correct at the edge of its rear element. You would be hard put to spot any difference between it and a mint example in the photographic output.
A general rule of thumb to remove lens fungus… unless you want to learn lens repair it’s best to avoid lenses with fungus for sale. It’s generally not worth the risk unless you are tooled up and happy to gamble. As this article has pointed out cleaning is fraught with risk BUT if that gorgeous Nikon AIS f1.2 or Minolta MC 35mm f1.8 comes into view and its cheap enough it’s maybe worth the chance. Even if you cant fix it a pro might be able to.
Just bear in mind you really do need to read up and practice lens disassembly if you want to try cleaning yourself. You also need a good range of tools. The guides on the site covering some models of lens strip down will, I hope, help you in your journey.
Further Reading
Mel is one of the driving forces behind High 5 Cameras and writes all our articles.
Starting serious photography back in 1972. Over the years she got to shoot film with most of the major brands in 35mm and large format as both a studio photographer and content provider for websites in the early life of the web. These days she is rediscovering photography and has become the GOTO person for knowledge on camera repair advice.


