How to clean a focus screen: – One of those things that comes up endlessly on forums for classic cameras is ‘How do I clean a focus screen?’ to save my fingers and to try and antidote a lot of bad advice out there I am creating a handy article that I can now link to each time this comes up.
OK before we get started with cleaning the screen lets take a quick look at some of the issues.
WHY DOES A FOCUS SCREEN GET DIRTY?
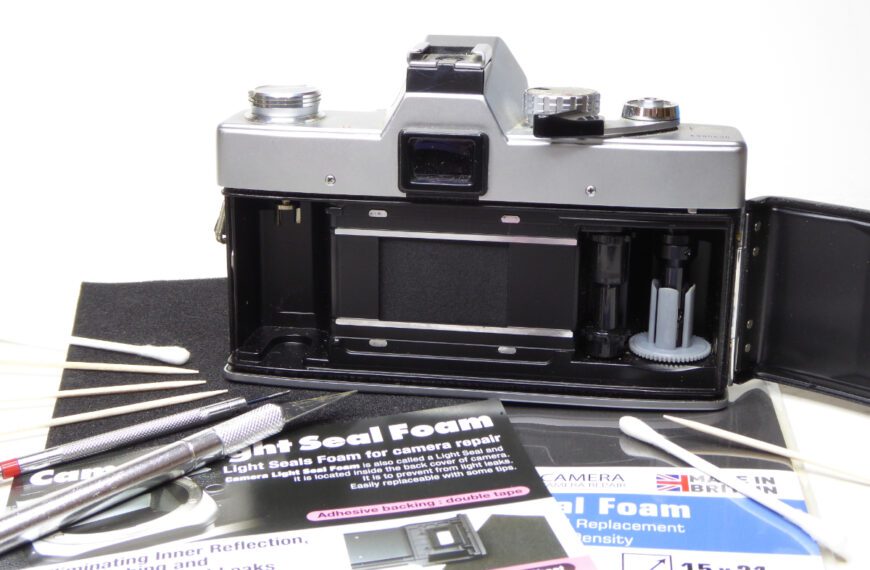
Well over time like with anything dust builds up. Added to that many of the people asking for help are using cameras that that are 40+ years old. These may be suffering from failing mirror bumpers and light seals. Check out the guide to replacing these HERE.
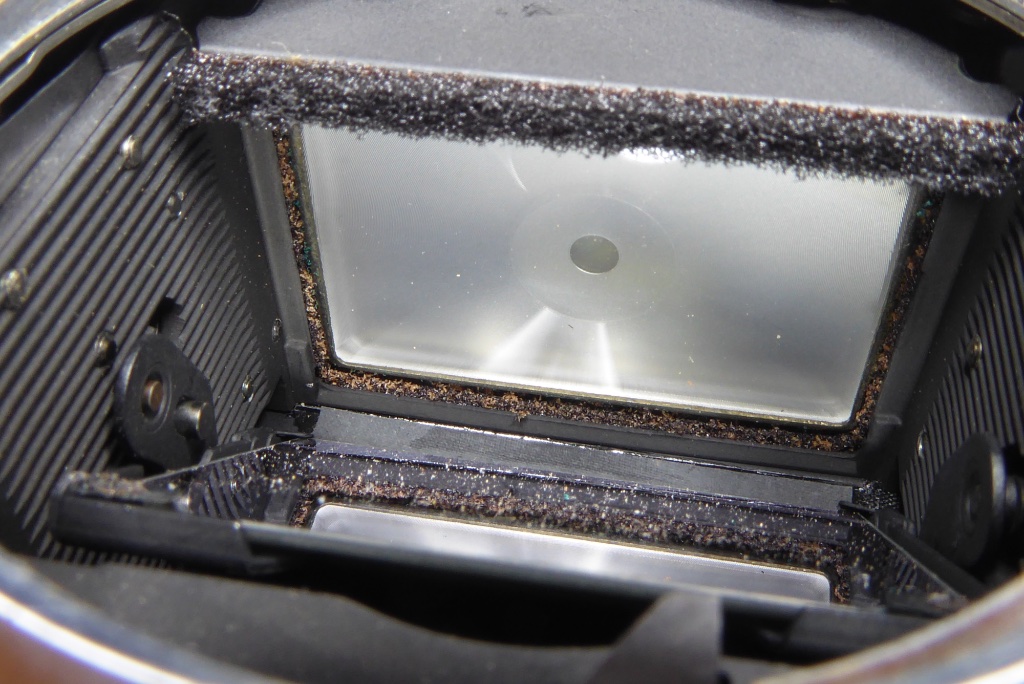
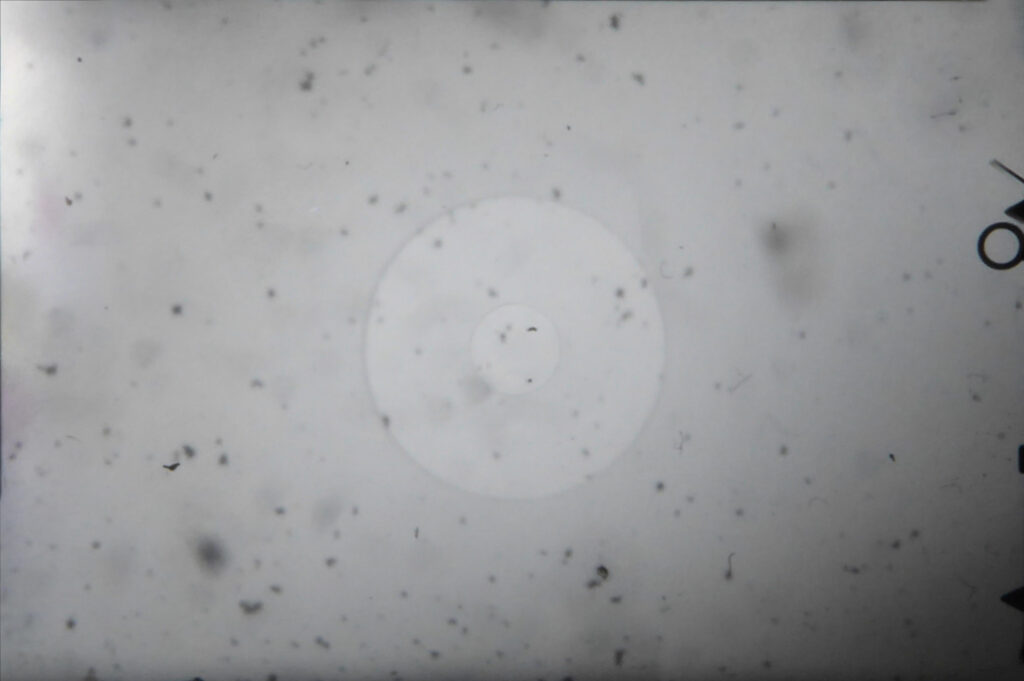
Sadly the decaying foam from the mirror bumper (and sometimes from other internal foam) leaves fragments of foam and nasty gunk on the focus screen which won’t easily blow off.
HOW EASY IS IT TO CLEAN A FOCUS SCREEN?
Well how tough it is to clean depends a great deal on the camera design, where the dust and dirt is and how dirty the screen is.
Generally speaking it’s best to clean as little as possible but if that dust and dirt in the viewfinder really is distracting then you may well have no choice but to clean.
How hard the cleaning is depends greatly on the camera design and here’s why….
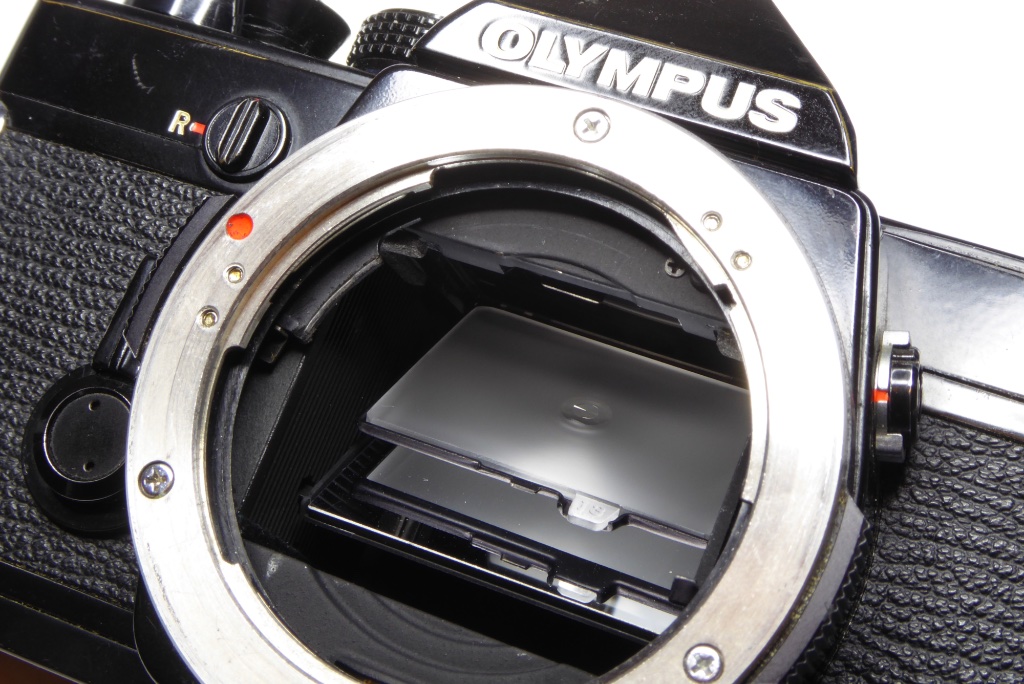
On some cameras the focus screen is removable and is a single piece unit (eg Olympus OM-1, Minolta XD7, Minolta X-x00), on some the focus screen is a two-piece unit but removable (eg Nikon F, Nikon F2). On others the focus screen is either a single part fixed in place (Canon AE-1, Pentax ME) or, on older cameras, a two part system fixed in place (Minolta SRT, Canon FTb and older Pentax cameras).

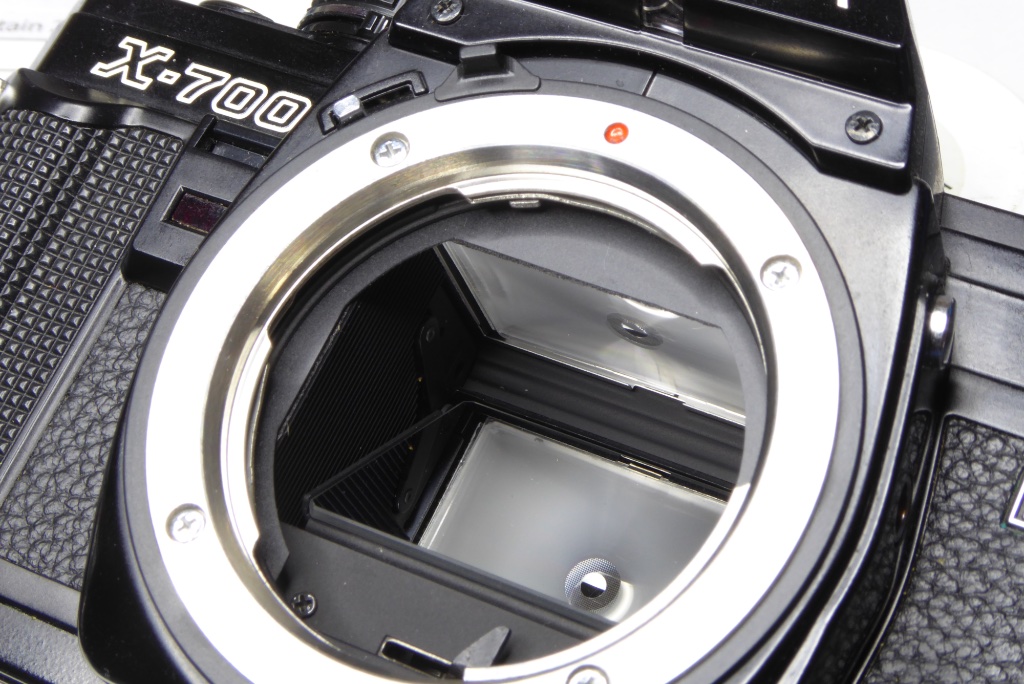
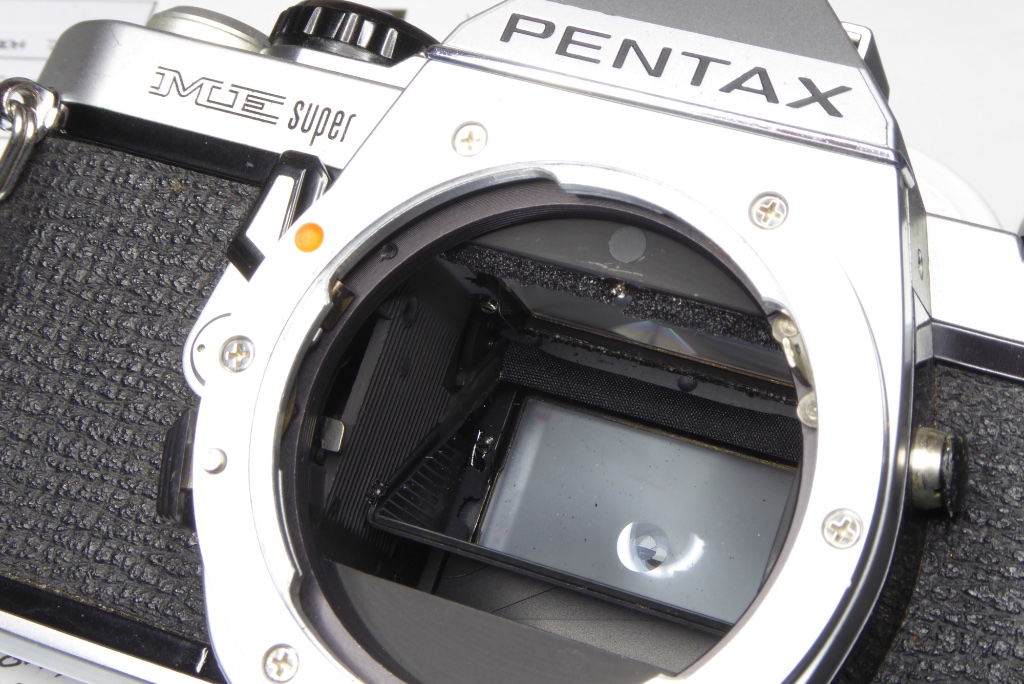
To clean both top and bottom of the screen the screen needs to come out but it’s possible, with care to clean the most common dust and dirt from the bottom of the screen visible inside the camera with the lens removed even if the screen is non-removable.
You need to consult your own camera manual to decide what is possible.
TYPES OF FOCUS SCREENS
A single part screen is usually just a thin plastic screen that’s fitted under the prism. On a two part screen the screen comprises a Fresnel lens and a condenser lens. Why the differences? Principally down to the advances in production technology for making these. A single piece screen looks flat but is in fact slightly curved as the condenser is part of the Fresnel.
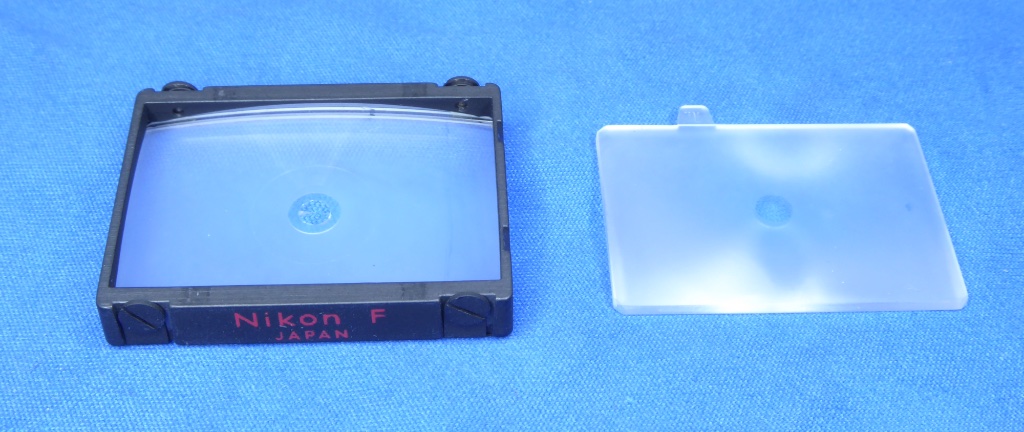
All Fresnel screens and single part screens have two different sides– a shiny side that’s quite hard and faces the mirror and a matt side with the Fresnel grooves which faces the prism.
The side facing the mirror is the hard, shiny side. This is the side you see when you take a lens off and look inside the camera. It’s best cleaned sparingly – a blower brush at most. If something is stuck to it breath on the screen and VERY GENTLY use a cotton bud to remove the particle.
If you are super careful you can apply some distilled water using a cotton bud but be very gentle. The screen is easily marked and NEVER use any chemicals. Some focus screens can cope with chemicals like Isopropyl on the hard shiny side, others will simply melt. The matte Fresnel side will ALWAYS be ruined by applying chemicals.
ISSUES WITH DIRT ON THE TOP SURFACE OF THE SCREEN
On a camera with a non-removable screen the top part is semi sealed. Whether stuff gets on the top of the screen is really down to the cameras design. Minolta SRTs for instance can be contaminated as interior light seals crumble. Others may allow dust to gather behind the screen.
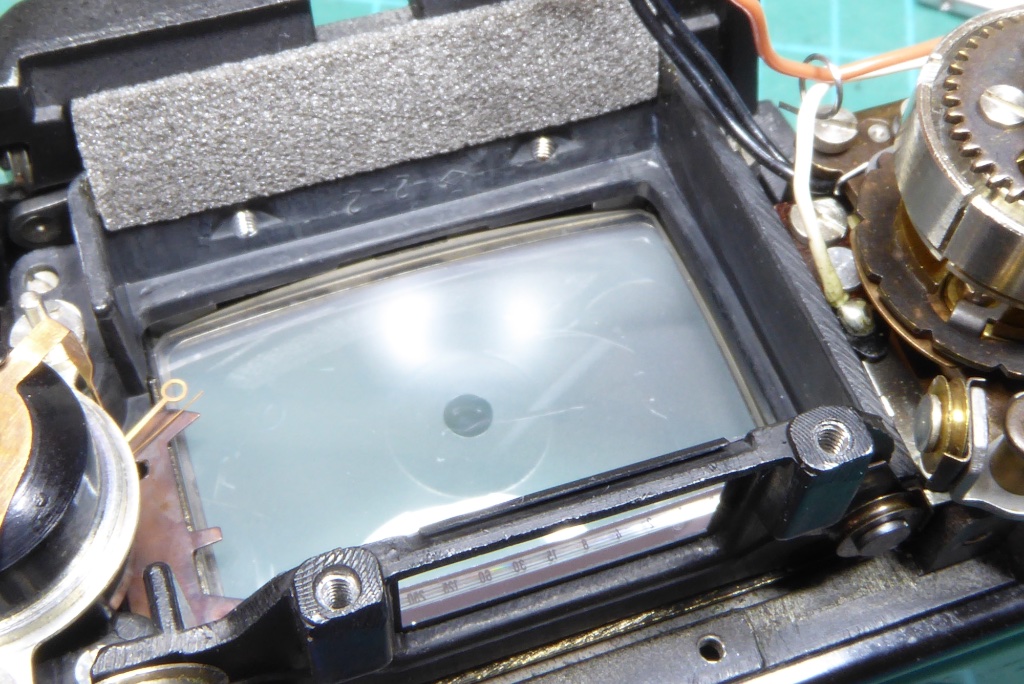
For cameras with a non removable screen how tough it is to clean the top surface of the screen comes down to how tough it is to get the prism out to get access to the top surface of the screen. Some older cameras (like the Minolta SRT and Canon FTB) present some challenges but later electronic cameras can present king sized headaches as they often require their flex circuit boards to be removed to get access to the prism OR the mirror box to come out. Typical culprits for this are the Canon AE-1 and Pentax ME and ME Super and the Nikon F-301 (although the Nikon is very well sealed so getting stuff on the top of the screen is unlikely – at least I have never seen it happen).
You need to be careful with the prism out of the camera. Older cameras usually have their meter needles in top of the screen and these can be easily damaged by excessive blowing or worse someone ramming into the meter needle or meter follower with a cotton bud.
CLEANING A SINGLE PART SCREEN
So lets assume you can get the screen out for cleaning and its easily removable and a single part screen. Your cameras user manual will be the best source of information on this. If you dont have one to hand check out the Mike Butkus site HERE (and dont forget to donate a dollar – Mike is a Saint and worthy of your support).
CAUTIONARY NOTES HERE
- NEVER, EVER use Isoprop on a focus screen. You may, just possibly, if you are beloved of God, get away with it on the shiny side but you never will on the matt Fresnel side – the screen will melt and be ruined. Some focus screens are almost impossible to find spares for (Pentax MX and Minolta XD7 for instance) so BE CAREFUL.
I have seen ammonia recommended but having once trashed a rare screen by using chemicals I am loathe to ever risk it again. - ALWAYS hold the screen by its edges and minimise contact with its surface. Don’t lay the screen down on hard surfaces or be inclined to pick or push at dirt on the screen with your fingers. If you muct put the screen down then use either a clean sheet of paper or a soft lint free cloth.
- My regime is to slowly step up and only move up a notch if absolutely necessary, a slight imperfection is a lot better than no screen at all.
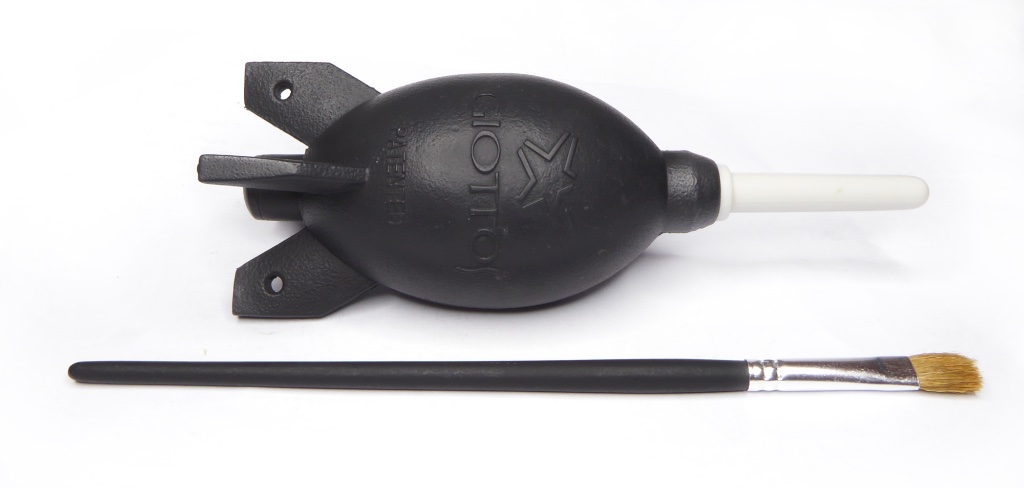
- First off blow the screen with a rocket blower – this will take dust off. Don’t bother with one of those tiny blower brushes so beloved of Amazon and eBay camera care kits – get yourself a decent rocket blower like in the picture.
- Use a duck feather gently to brush with (Eugene Pate at LearnCameraRepair swears by this but I have been unable to get a duck to stay still long enough). I occasionally use a very fine and very soft sable brush. Absolutely don’t use anything except a super fine sable. Many brushes will be too harsh and you will risk scratching the screen.
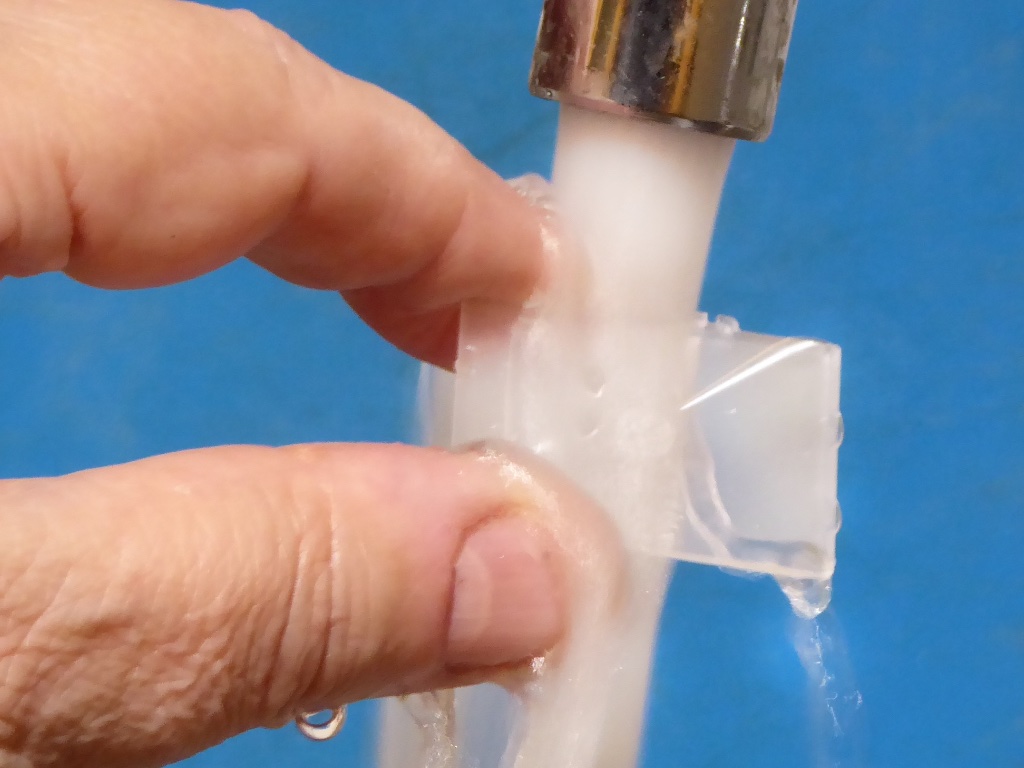
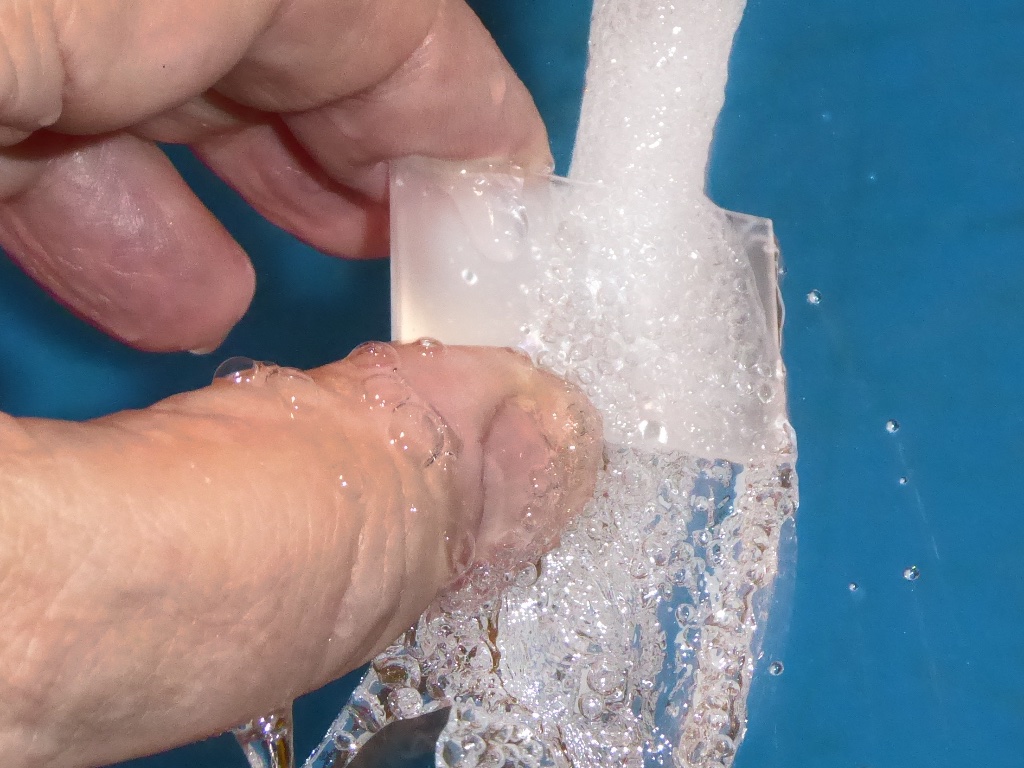
- Assuming dirt which can’t be removed with blowing or gentle brushing– put the screen under a cold water tap, hold it only by its edges as even finger pressure can cause the matt side of the screen to deform and this will create dull spots in the view. Use cold water only and don’t use excessive pressure from the tap.
Don’t rub or press on a focus screen. Dry with you cold air rocket blower – using distilled water as a final finish before blowing dry will give a nice look and avoid any streaks as the water contains no impurities.
By the way distilled water without impurities is ABSOLUTELY DISGUSTING to drink – don’t let marketing idiots tell you that their Pura Hydro 100% water is amazing because any 100% pure water is HORRIBLE to drink. It’s the impurities like dissolved salts that make water taste acceptable. - If the cold-water approach didn’t work here’s the final answer…
Apply a blob of low Ph dishwashing liquid to the screen. Agitate the blob with your fingers which have been pre-softened in hot soapy water. The trick is to let your fingers ride on top of the blob as you roll the blob of liquid around on the screen. Your fingers don’t touch the screen they ride on the blob like a hovercraft. Flush off with cold water and then distilled water and blow clean with a cold air blower.
I use this as it’s a similar approach to cleaning telescope mirrors which are even more fragile than focus screens – they can’t even have low Ph dishwashing liquid and have to be done with pure soap suds which really is a pain. Before I did camera repair I did astronomy equipment repair and telescope mirrors and lenses are figured to wavelengths of light and a fair bit tougher to deal with than most focus screens.
TWO PART FOCUS SCREENS
For screens with a two-part construction there are additional issues. You can’t put them under a cold water tap as water will leak into the air gap between the screens. Normally that’s not an issue as you will only need to blow the top and bottom of the screen with a blower brush. Normally the screens are fitted into a carrier. If stuff has gotten between the Fresnel and the condenser it’s down to the way the screen was manufactured as to how to manage it.
A Minolta SRT is relatively simple and the screen is composed of a Fresnel and condenser held together with teeny screws and spacers. Unfortunately to fully remove an SRT screen you need to disassemble a large part of the camera.
However very often the dirt is only on the top surface and removing the prism of a Minolta SRT or Canon FTb is relatively easy though not advised for the beginner. Be very careful when you manage this because the meter needles and followers are VERY fragile.
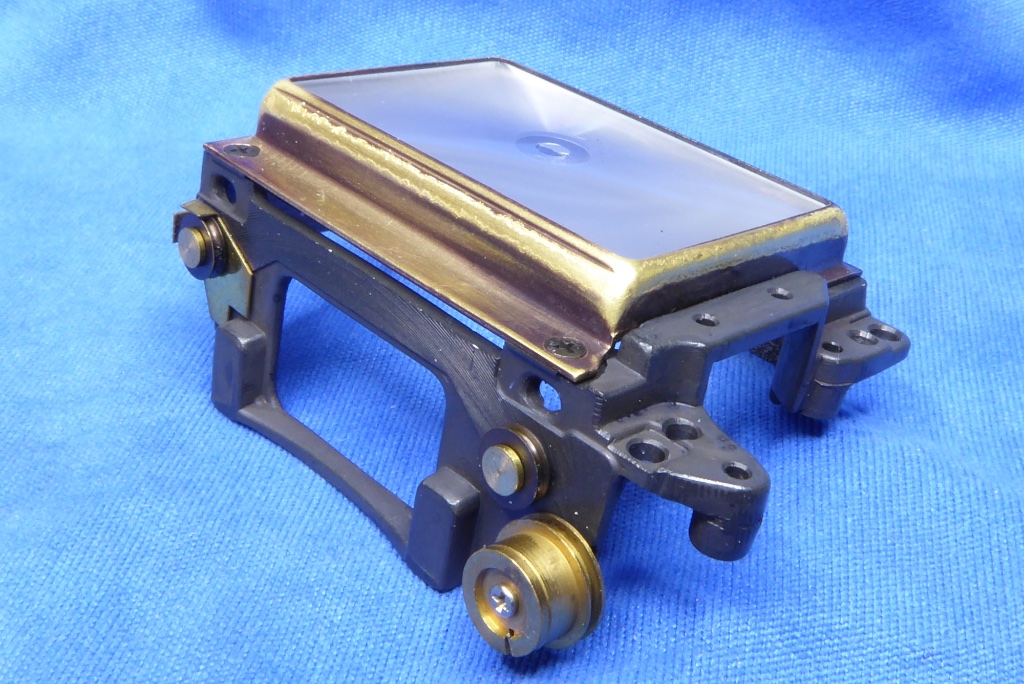
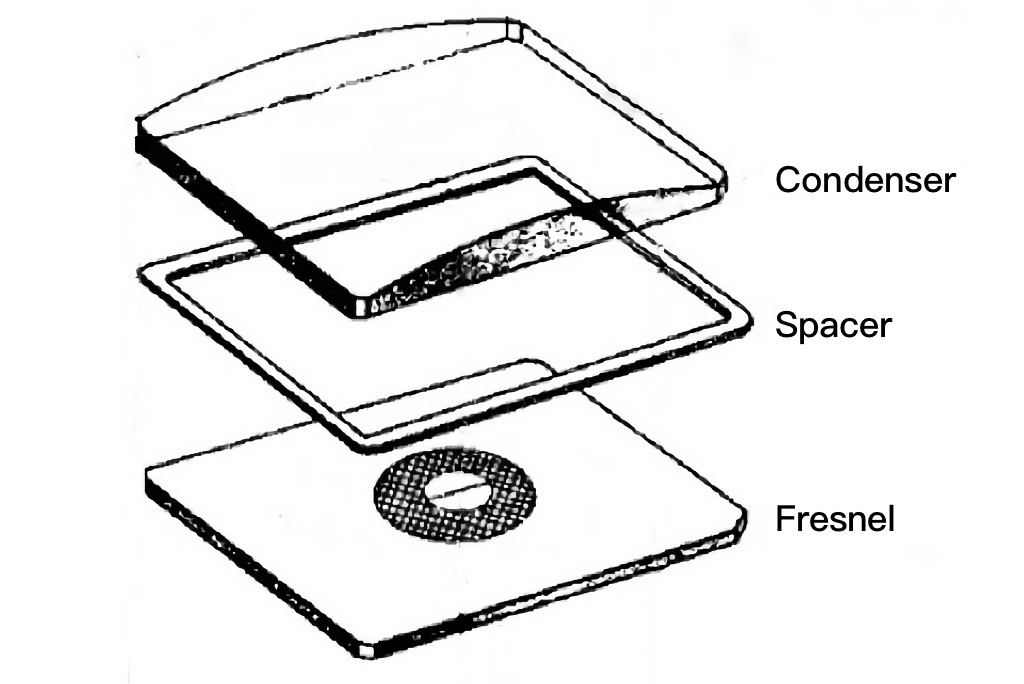
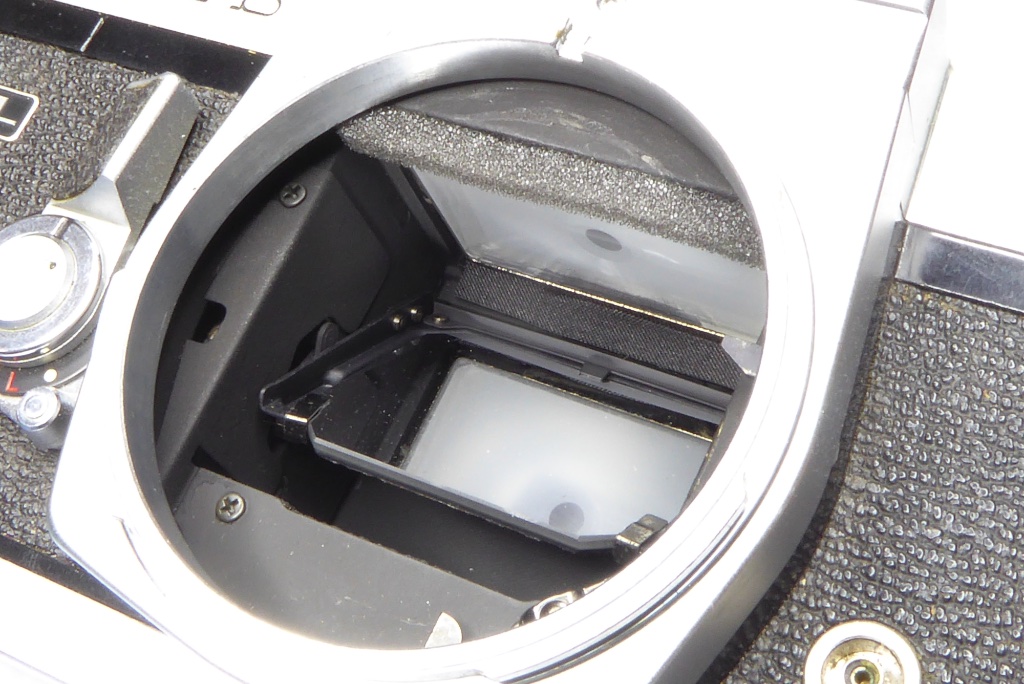
A Nikon F has an easily removable two parts screen which is mounted in a carrier and is relatively easy to dis-assemble but very often the two screens are bonded by a thin tape. The tape has glue on it and of course the glue can decompose and leak into the gap between the screens. It’s a nasty situation. To be fair I have only seen this once or twice. If that’s you – then you are out of luck because I have yet to find a way to fix that and suspect there’s nothing much to be done except pay a scalper on eBay for a replacement screen. The Nikon F, F2 and the Canon F1 all have two part screens but they are easily removable and will only usually need a blow or brush. It’s rare to have to separate the screens.
If you do have to go as far as screen separation NEVER mess with the condenser screen- its usually a very soft acrylic and will scuff and scratch easily. Use cold water only, breathe on it and VERY GENTLY wipe with a cotton bud.
The Fresnel can be treated as per the single part screen cleaning already described. BUT – and in tales of derring do like fixing a focus screen there is ALWAYS a but…
Getting a screen back together without any dust creeping in can be exhausting. Originally these were factory assembled and although they weren’t done in a clean room by todays standards they were assembled by very sharp assembly line workers – how they did it is a mystery (witchcraft I suspect). You need a clean environment, a blower brush and the patience of Job will not suffice – you need the combined patience of every Saint in heaven….. but, it can be done.
Thankfully most two part screens almost never need to come apart.
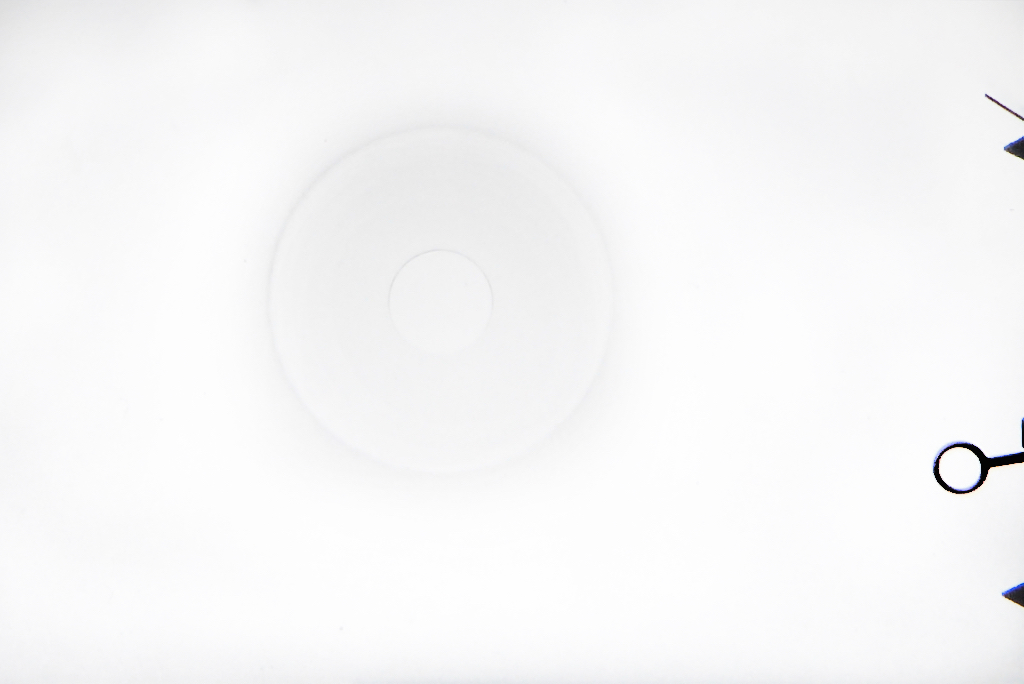
To check you got the screen dust free use a jewellers loupe and a good light – at a pinch the eyepiece from the viewfinder will work if it’s removable without too much fuss. Remember the eyepiece of the viewfinder is a magnifying glass so any imperfection in the screen will be more visible in the camera through the viewfinder than to your naked eyeballs.
FINALLY
Final cautionary note – I periodically see people suggesting putting some low tack tape on the screen. It’s a bad idea generally to clean a focus screen this way because the Fresnel side is very finely cut and as already stated you can flatten the grooves with not much effort. The low tack tape idea though can work in extreme situations but it’s really the thing to use when nothing else has worked and it’s that or the power of prayer.
If you have had to remove a prism to get to the top of the screen you may as well clean the prism surfaces as dust, if its on the top of the focus screen, will usually be on the prism as well.
The prism shouldn’t need much cleaning usually – at most breathe and a microfibre cloth or a soft cotton bud. I use a superfine cloth from Baader Optics. If it has glue residue from decaying light seals I use a very dilute Isopropyl solution.
As with the focus screen Don’t rub the prism it can scuff easily in most cameras – it’s a very finely ground bit of glass and needs careful handling.
For cameras with easily removable screens when the screen comes out you will have access to the base of the prism and you can clean using just breath and a cotton bud but be very gentle.
So now you know how to clean a focus screen.
Further Reading

Mel is one of the driving forces behind High 5 Cameras and writes all our articles.
Starting serious photography back in 1972. Over the years she got to shoot film with most of the major brands in 35mm and large format as both a studio photographer and content provider for websites in the early life of the web. These days she is rediscovering photography and has become the GOTO person for knowledge on camera repair advice.


