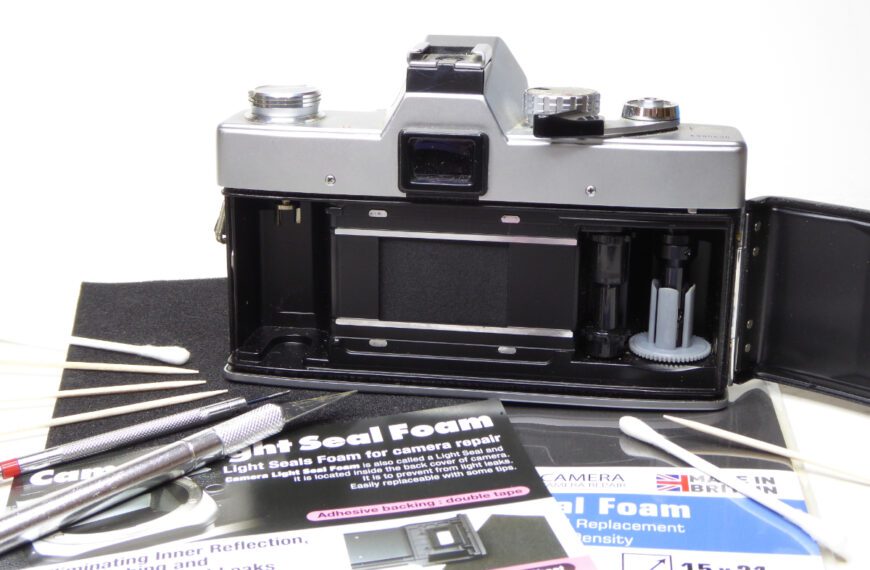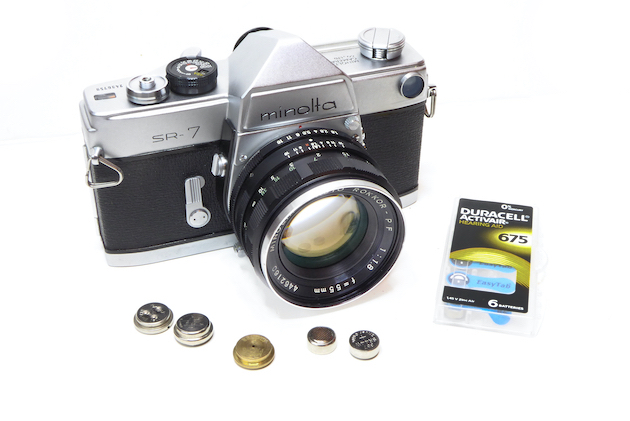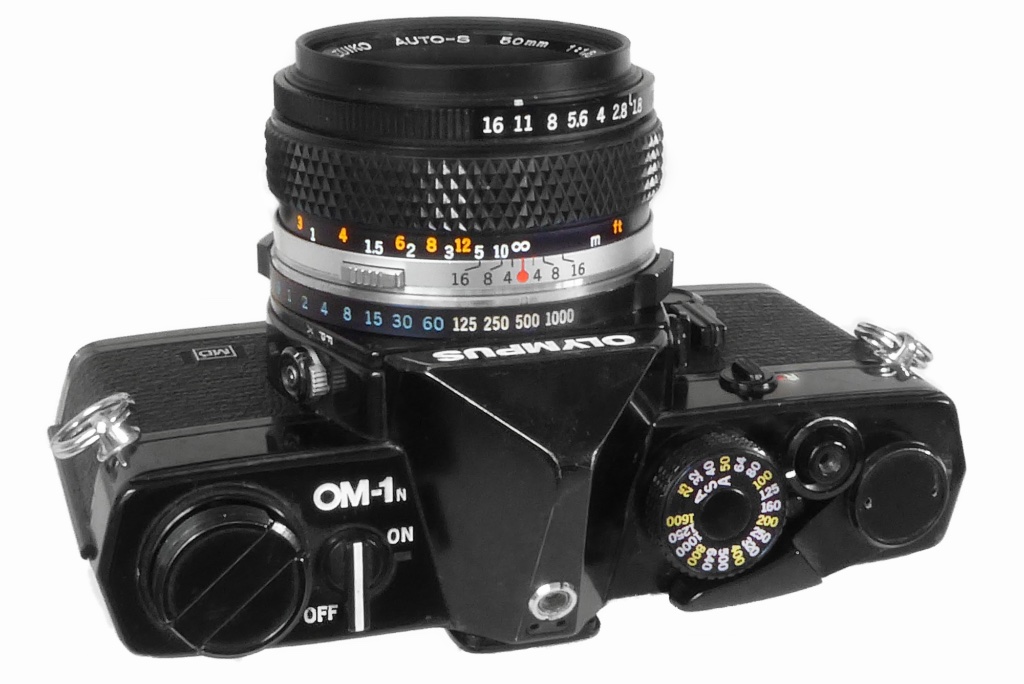
The Olympus OM-1 like some other cameras from the golden age of Japanese film cameras were fitted with foam around the prism. The foam was there to protect the prism but paradoxically in the long run the foam has done more damage to old cameras than just about anything else. Cameras susceptible to this include the Minolta XE and XG series, the Canon FTb, the venerable Nikon F and of course the Olympus OM-1 and OM-2 series.
This Olympus OM-1 Prism foam is now almost 40 years old in most cameras and like light seals decays over time. As it degrades it releases an acidic goo which will slowly dissolve the prism silvering. If you are seeing blotches or dark streaks in your viewfinder that don’t clean off when you clean the base of the prism, the focus screen or the viewfinder this will be the first sign of decaying foam. It’s a terminal diagnosis – once the prism silvering is gone there is no fix short of re-silvering (expensive and hard to find people who can do it) or prism replacement from another camera.
There is no obvious reason why Olympus added, removed and then added again foam from various production batches. Cameras with the foam removed show no obvious issues but if you are concerned and wish to retain the foam parts the best alternative is a good quality, non-shedding felt of an appropriate thickness.
Where the Olympus OM series are concerned a guide to whether your camera likely to need Olympus OM-1 Prism foam removal is as follows;
- OM-1 – Serial numbers lower than 1110000 will have foam installed.
- OM-1N – All versions have prism foam installed.
- OM-2 – Serial numbers below 500000 will have foam installed.
- OM-2N – All versions have prism foam installed.
Bear in mind this data is only a guide – some OM-1 and OM-2 cameras may have prism foam even when the general opinion is they don’t. Olympus did not distribute serial numbers evenly, the top and bottom plates were stacked up in the factory and used when needed so a serial number alone is not a 100% guide as to the cameras internals. Throw in 40 years of spares, repairs and some OM-1 and OM-2 cameras may well show a serial number other than their original.

For all these reasons above it’s best to get the lid off your OM-1 or OM-2 camera and take a look with a view to removing any degraded foam before your prism is wrecked. This guide will show you how…..
As ever the quality of any camera repair is down to your tools, your skill and your patience.
Read the guide all the way through before starting so you know what to expect.
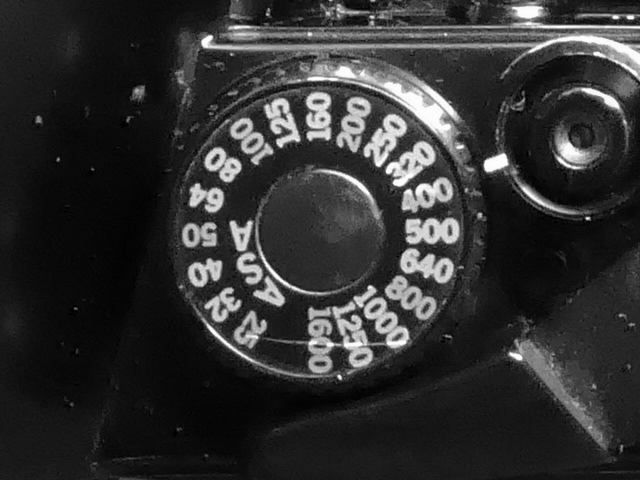
Before starting set the Film Speed/ASA dial to a known speed and make a note of what you set…
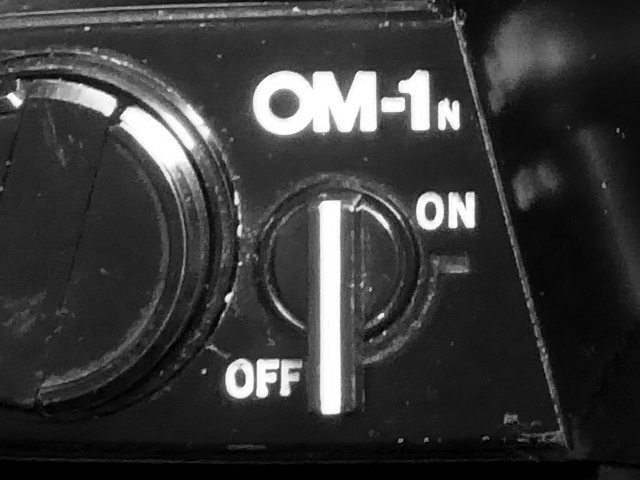
…and set the meter switch to ‘OFF’ – I find it best to also remove any batteries to prevent any risk of shorts or other electrical problems while working.
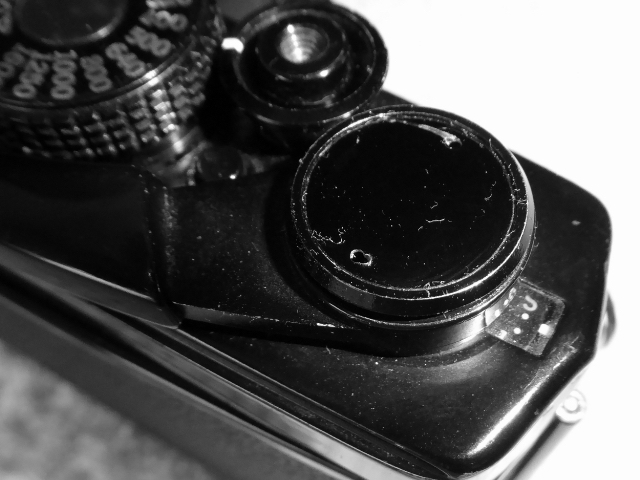
First remove the trim cover on top of the advance winder. This is always a very hard one to get off.
Resist the urge to use a spanning wrench or a screwdriver in the slots – this trim cover is VERY thin and any undue pressure will cause it to distort or the slots to widen or worse, for the spanning wrench to slip and mar the finish on either the trim or the metal beneath it.
This one has had Mr Bodge working on it and shows with widened slot AND a nice scratch.
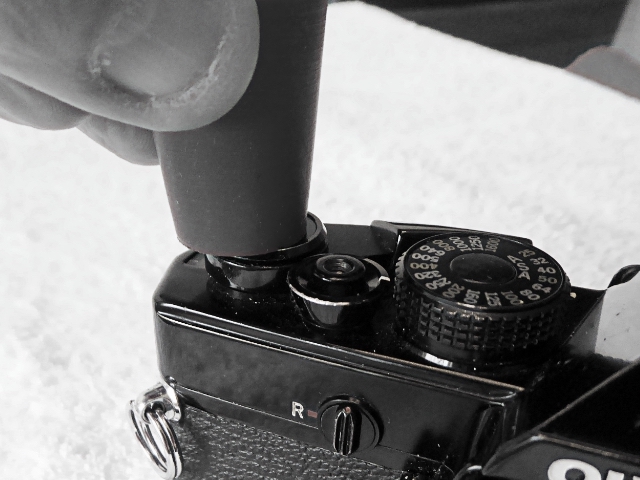
The factory had a specific tool – you will need to improvise.
The best approach is a soft rubber bung . These can be had easily enough for a few pennies from any place selling wine or beer-making gear.
Apply some Isoprop Alcohol around the edges of the trim and let leave alone for a few minutes.
Now apply pressure evenly downwards and turn using the rubber bung. if it doesn’t shift apply a bit more Isoprop and try again – it may take a few goes so patience is needed here.
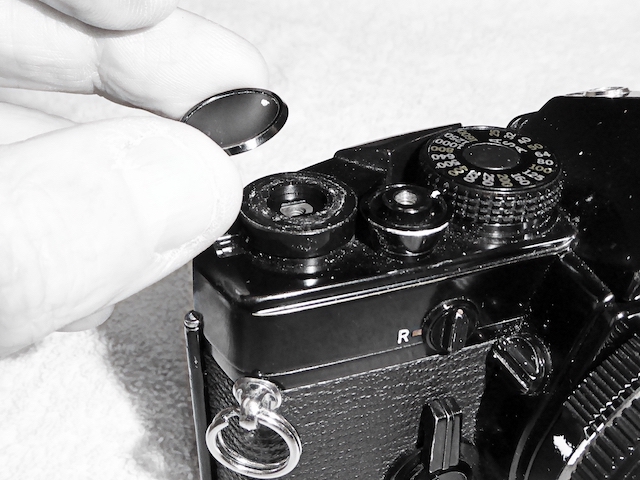
Heres the cover removed from the camera. It’s only held on by a few threads but the factory appears to have used some kind of thread lock on it.
Before going further make sure you have set the Film Speed/ASA dial to a known value and make a note – this will make life easier later on.
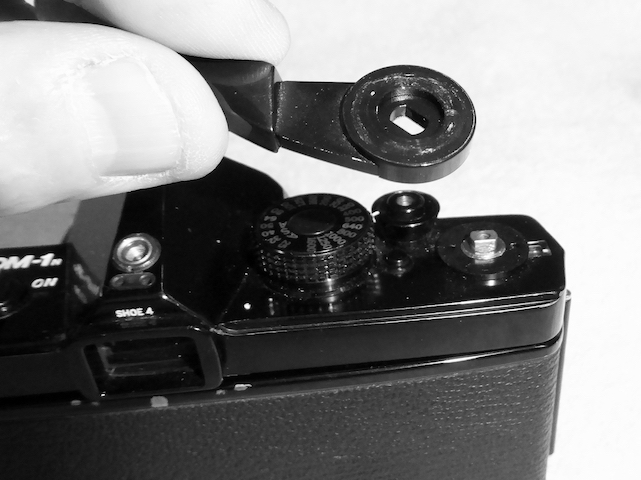
With the trim cover removed the advance lever will just pull free.
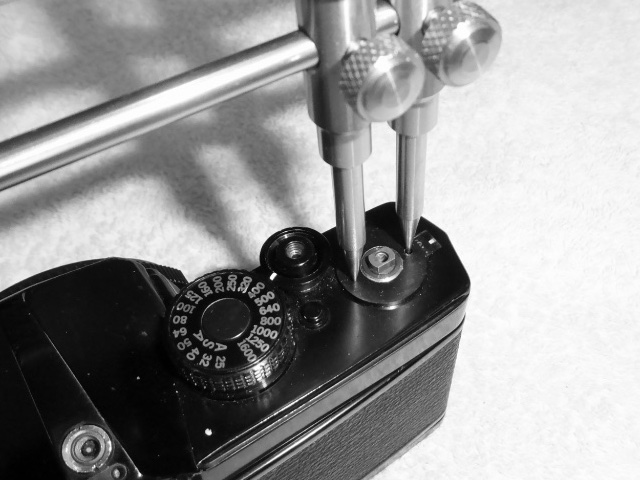
Beneath the advance lever there is a nut which can be removed using a spanning wrench/lens spanner.
Remove this – it is a conventional thread.
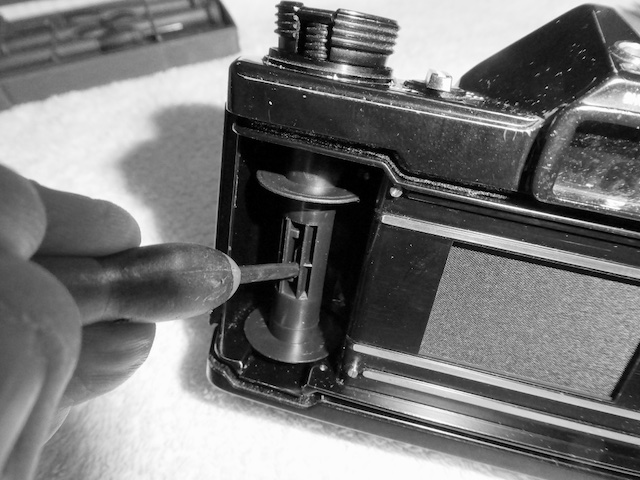
Now it’s time to start working on the other side of the camera. Make sure to turn the meter switch to the off position – this will make life easier when you reassemble later.
To remove the film rewind and spool you ideally need an old film spool. Place that in the film chamber, push the rewind capstan down as if you were loading film and now wedge the film spool with a screwdriver and unscrew the film capstan counterclockwise.
Why use a film spool and not just a screwdriver? The film spool on the OM1 is quite soft and a screwdriver applied directly to it could cause one of its jaws to break off.
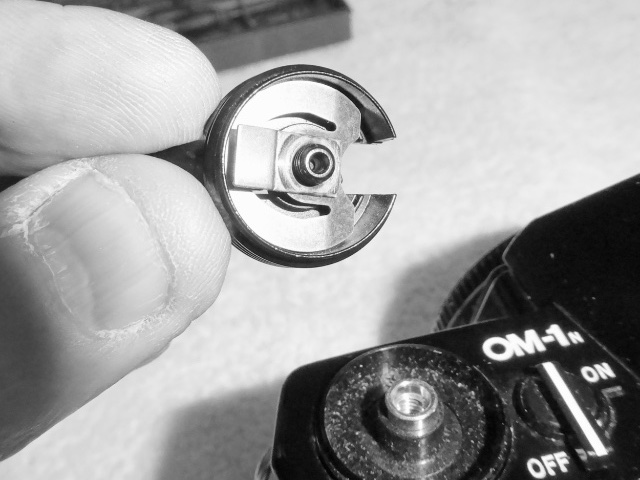
Heres the rewind capstan removed.
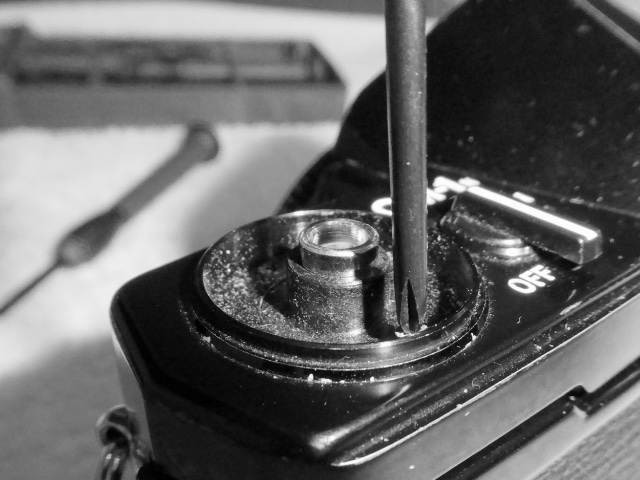
Under the rewind capstan there is a plate secured by two JIS screws.
This repair was one of the first camera repairs I ever did when I was ignorant of the risks of using Philips drivers on Japanese screws with a JIS head. It’s doable but it really is worth investing in a set of JIS screwdrivers and doing the work properly.
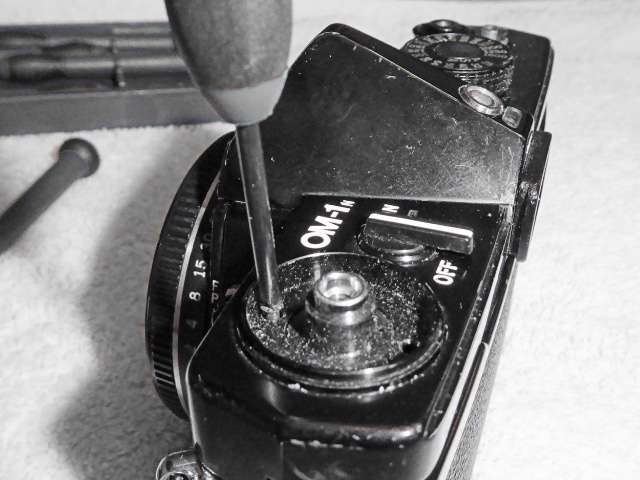
Remove the two JIS screws and the plate will simply pull free.
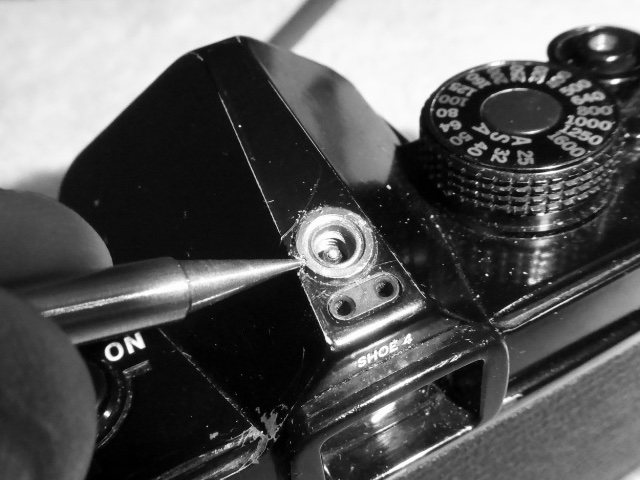
It’s now time to tackle the flash connector. This is a very fine threaded collar around the flash contact. It does have two small slots. This can be removed using a fine point on a spanning wrench or a small screwdriver to turn the small threaded collar. A pin vice will work as well or at a pinch some thin nosed pliers. Be careful here as its easy to damage the cameras finish.
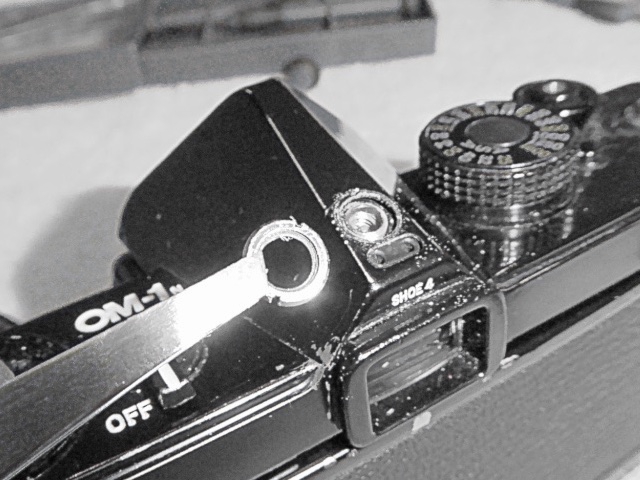
Heres the threaded collar being removed.
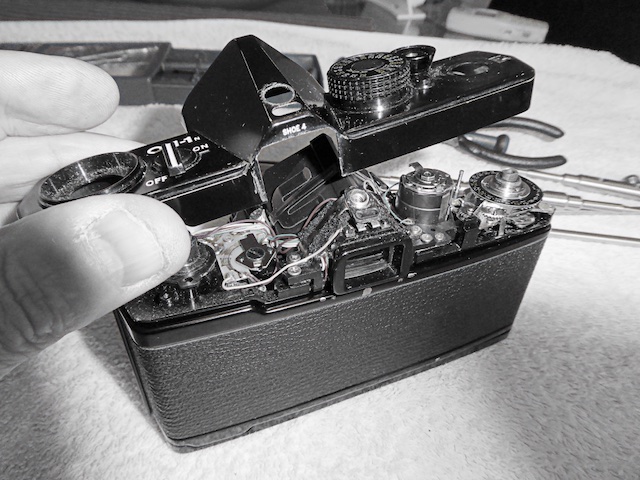
The top cover of the camera will now come free – it may require a bit of wiggle to get it to come away…watch out for the following……
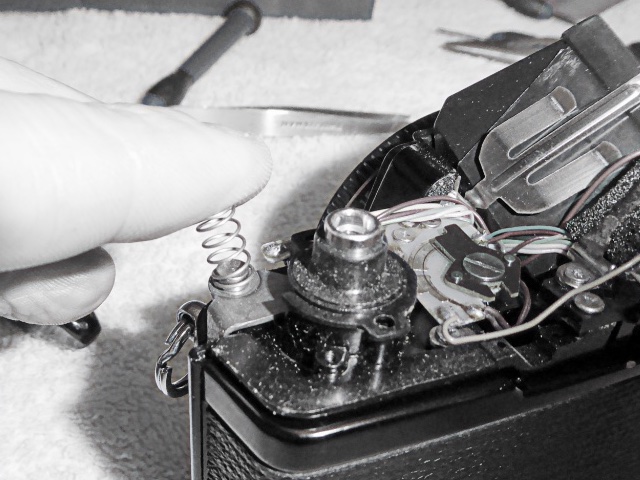
There is a spring under the cover just here – this can easily fly off and disappear…..
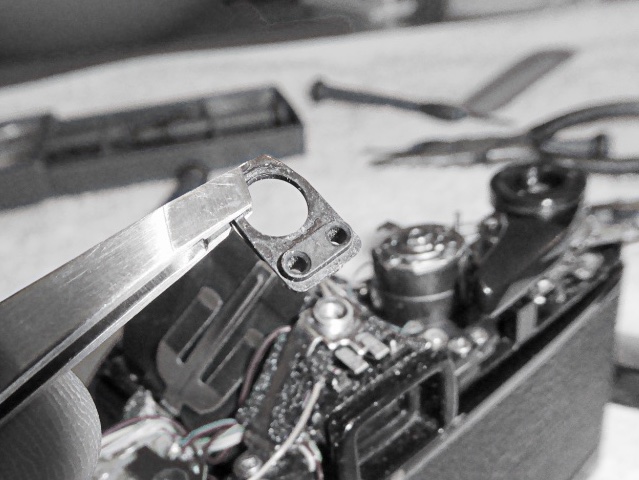
Also this small plastic piece which acts as an insulator for the flash contacts. It’s quite small and will be loose once the cover is removed so keep an eye out and remember to replace it AND the spring in the step above when re-assembling.
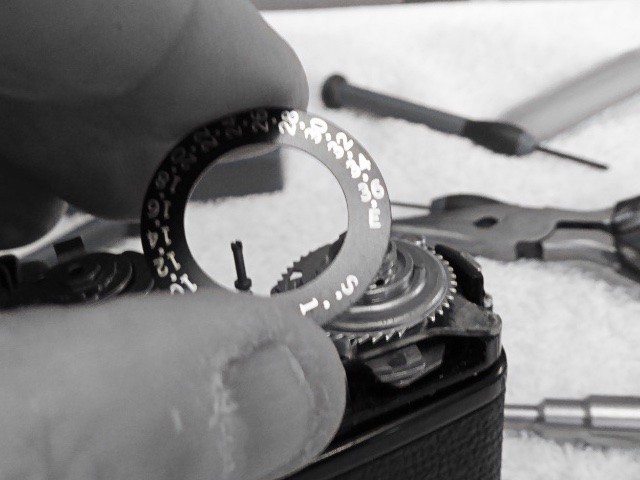
This OM-1 also had an issue with its frame counter not counting. This fell free when the cover was removed…..
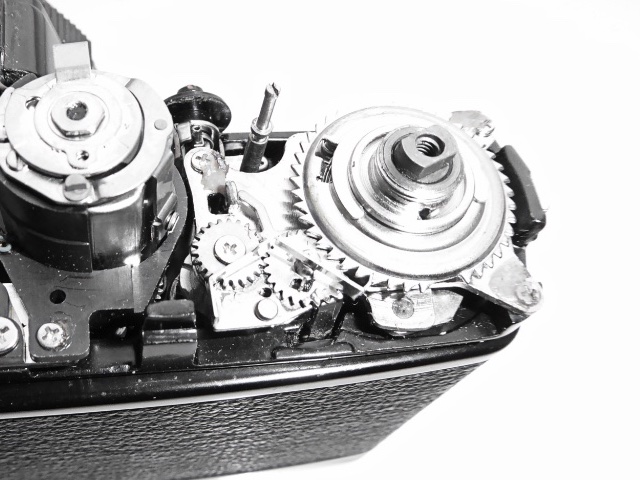
…its held on using a rubber cement to the top of the counter mechanism. These cameras are now getting old and the cement may be failing. If you have one with counter issues this will probably be why.
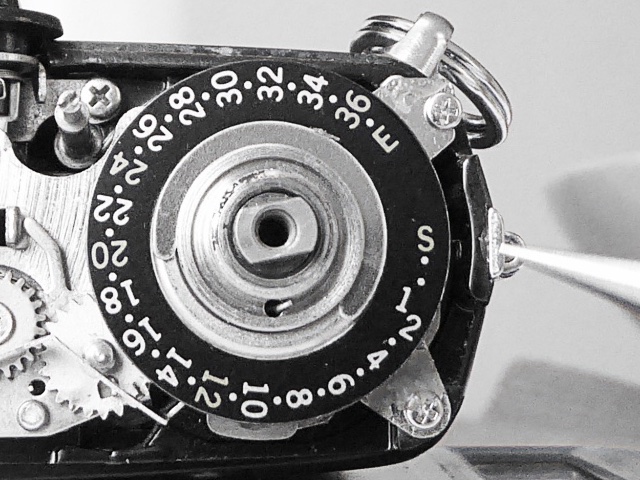
Observe where the counter dial attaches to the counter mechanism and using just two or three tiny drops of glue reapply the counter. Make sure you open the rear door of the camera to ensure the counter is set to zero before doing this. The counter should align as per the picture with the ‘S’ almost exactly opposite the small mark being pointed out in the picture. If in doubt reapply the top cover briefly to get the positioning correct to the index mark before glueing
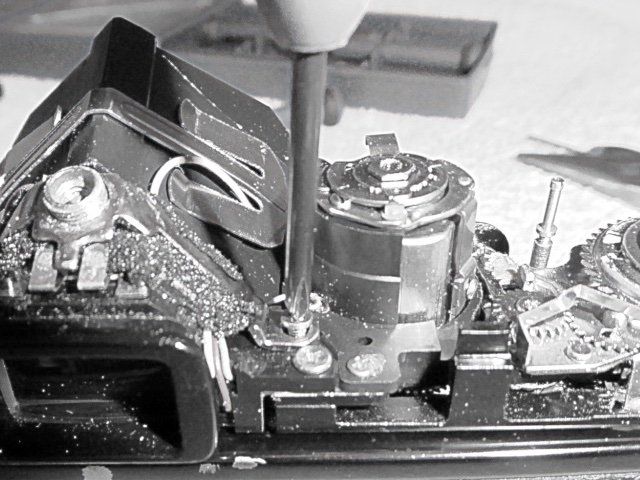
Now you can see the mess the foam is in. This is exactly why this OM-1 needs its foam removing. It’s already starting to deteriorate badly.
Left to its own devices the foam will degrade into acidic goo which will start eating the prism silvering.
To start cleaning first remove the flash contact plate by removing the screw shown in this picture….
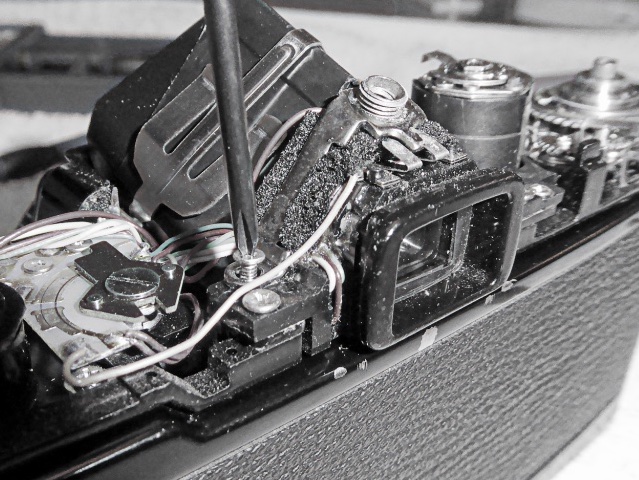
…and now remove the screw on the other side.
Take note of the screws slightly closer to the rear of the camera. You will need to remove these later if you wish to remove the viewfinder lens for cleaning.
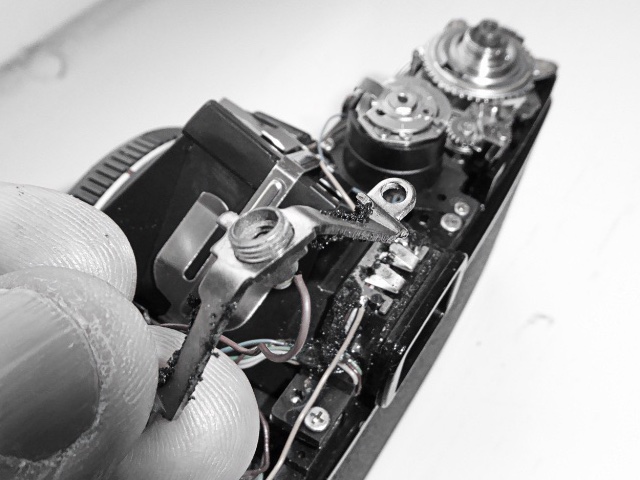
The flash contact plate is now removed. You need not desolder it.
Start by removing the foam from the flash contact plate using some Isoprop and cotton swabs. It’s best to apply the Isoprop and then give it a few minutes to work before removing it with a cotton wool swab.
If desired you can also remove the prism. It is retained by two screws on either side which attach to the prism retainer bracket.
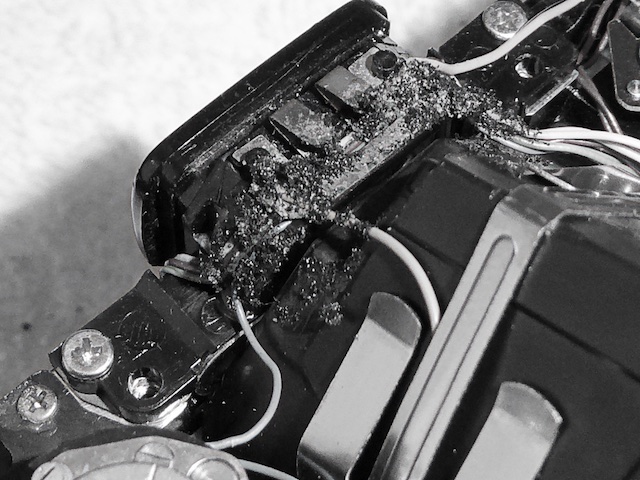
And here you can see the Olympus OM-1 prism decaying foam has caused a huge mess around the flash contacts and the rear of the prism. This is exactly why you need to remove the foam from most Olympus OM-1 and OM-2s .
Along with prism damage the acidic decay will eat a great many metal parts if left alone and can cause electrical problems with the meter wiring.
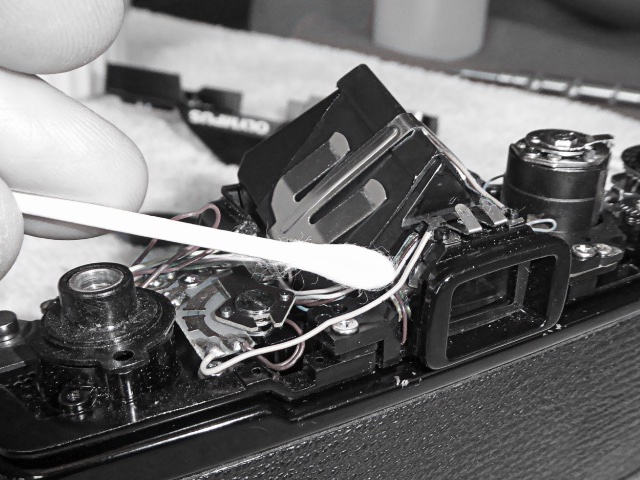
careful application of some Isoprop using a cotton bud and a lot of patience is required to slowly tease all of the decaying foam out.
Try not to let fragments of the foam drop inside the camera, especially between the prism and the viewfinder lens.
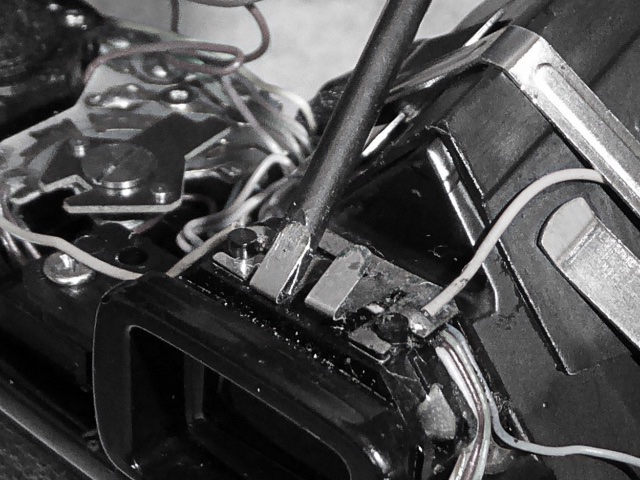
This OM-1 was so bad that during prism foam removal from the prism the flash contacts were slightly depressed. These can be gently bent back to shape to ensure a good contact on reassembly.
The foam had also badly etched the plating on the flash contacts and these required some contact cleaner to get the contacts clean again and remove the corroded copper.
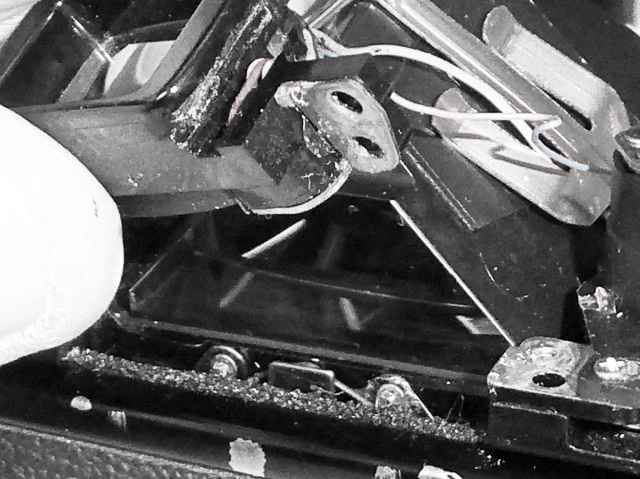
In this camera some of the Olympus OM-1 prism foam, while being cleaned out, got between the viewfinder lens and the prism. removing the viewfinder is simply enough by removing the two screws close to the flash contact bracket. be careful when you handle these piece as there are several thin wires running around it including the light meter cells.
You can also see a foam strip that may need replacing immediately below the viewfinder

Re-assembly is straight forward and simple. Remember to replace the flash contacts insulator piece…..

…and the spring to the rewind side of the camera.

On the top cover….Turn the ASA dial/Film Speed to the correct position – this will be the same as you set at the start of the procedure.
With the cover off the camera this will rotate freely

Set the meter switch to off as per when you started disassembly. With the cover away from the camera this will also rotate freely.

Replace the top cover, you may need to ‘jiggle’ the Film Speed/ASA dial a little to get it to engage properly. Likewise the meter switch but with a little fiddling it will go down. Make sure you do not trap or pinch any wiring when refitting the top cover.
Check operation of both the ASA dial and the on/off switch of and then simply reverse the process for dis-assembly to reassemble the top cover parts.
Further Reading

Mel is one of the driving forces behind High 5 Cameras and writes all our articles.
Starting serious photography back in 1972. Over the years she got to shoot film with most of the major brands in 35mm and large format as both a studio photographer and content provider for websites in the early life of the web. These days she is rediscovering photography and has become the GOTO person for knowledge on camera repair advice.


