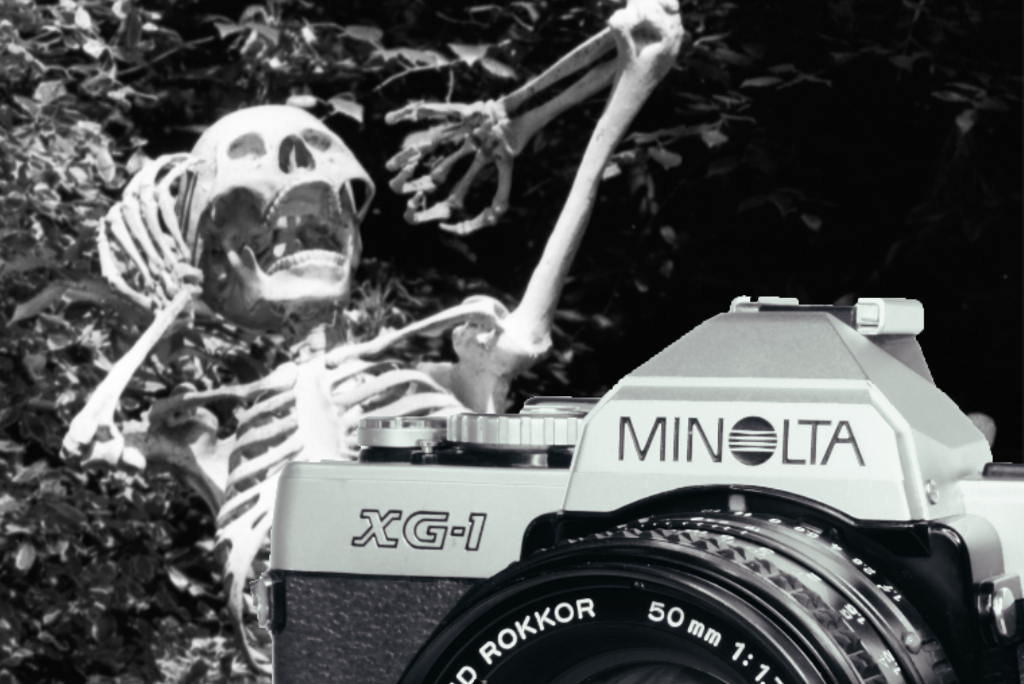
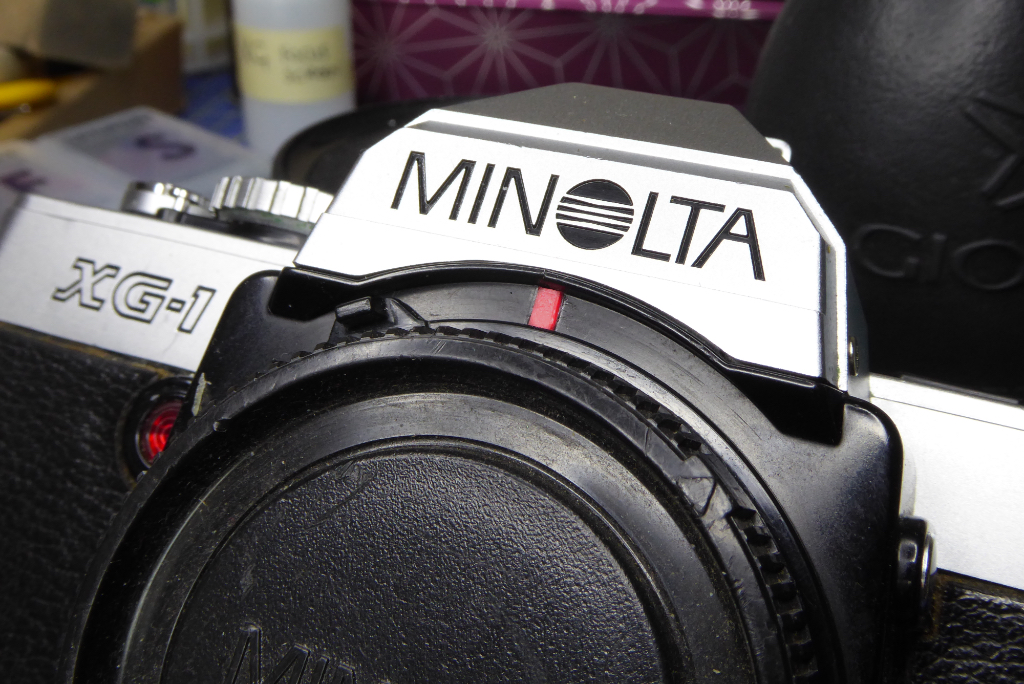
The Minolta XG-1 was the second in the XG series launched in 1977 as a budget camera to complement the top of the line XD series. Unlike its predecessor the SRT series, the XG series was all electronic. By the time the XG series came to market the SRT series was looking tired but would soldier on until 1981. The XG series would continue to use the outdated CdS metering cells (unlike the XD which was using the latest silicon cells) but it had an all electronic shutter.
In the aperture-priority automatic mode, the electronically governed shutter provides stepless speeds from 1s to 1/1000s.
The XG-1, like others in the XG series was geared for those on a budget or the beginner and was designed to operate mostly in aperture priority auto mode. The XG series also introduced a touch sensitive shutter release which would be carried over onto the X-x00 range. With the camera turned on the lightest touch of the shutter button would activate its electronics which would turn off again after 15 seconds of no activity. All XG bodies featured an ±2 EV exposure compensation dual.
One of the oddities of the XG series was the fact that the meter was inactive in manual mode and only comes alive in Auto Mode. The flagship camera of the XG series would be the XG-M which allowed metering in all modes and was launched in 1981 to fully replace the SRT series. The XG-M would lead on to the biggest selling Minolta of all time, the X-700 which is basically a turbo charged XG-M.
With the rise of a new generation of film users the humble XG-1 has been largely forgotten in the scramble for more prestigious cameras like its running mates like the SRT101, the X-700 and the glorious XD series BUT despite its humble origins the XG is still a very potent tool. This is the story of one rescued from near certain death which is why I think of this one as ‘The Revenant’.
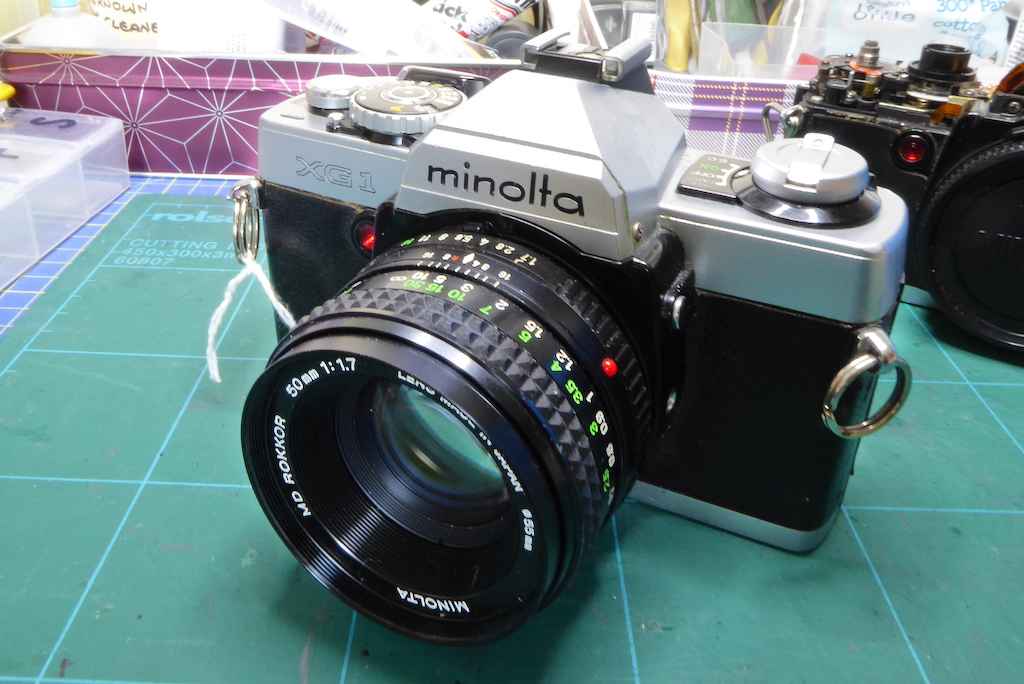
Some time back I acquired a Minolta XG-1 from a charity shop, though its pretty typical of stuff sold on eBay by sellers who claim they found it in an attic or else it was dear old dads. The camera was low enough priced that I considered it worth it just for the lens so, ignoring the inner voice that said ‘it’s going to be a horror’ I parted with a few shekels and took it home.
While the XG-1 is not highly rated I thought it would be worth my time to bring this one up to par, plus it would provide valuable learning lessons.
A cursory examination at the shop had shown it to be in quite bad shape but once I got it on the bench it turned out to be far worse than I had imagined from a glancing examination. A picture tells a thousand words so here’s some pictures of it original state.
As you can see from the main picture at the start of the article a quick look seems to suggest its ok but a closer look reveals some real horrors. These included a jammed shutter speed lock button and what looked like 40 years worth of crud inside everything.
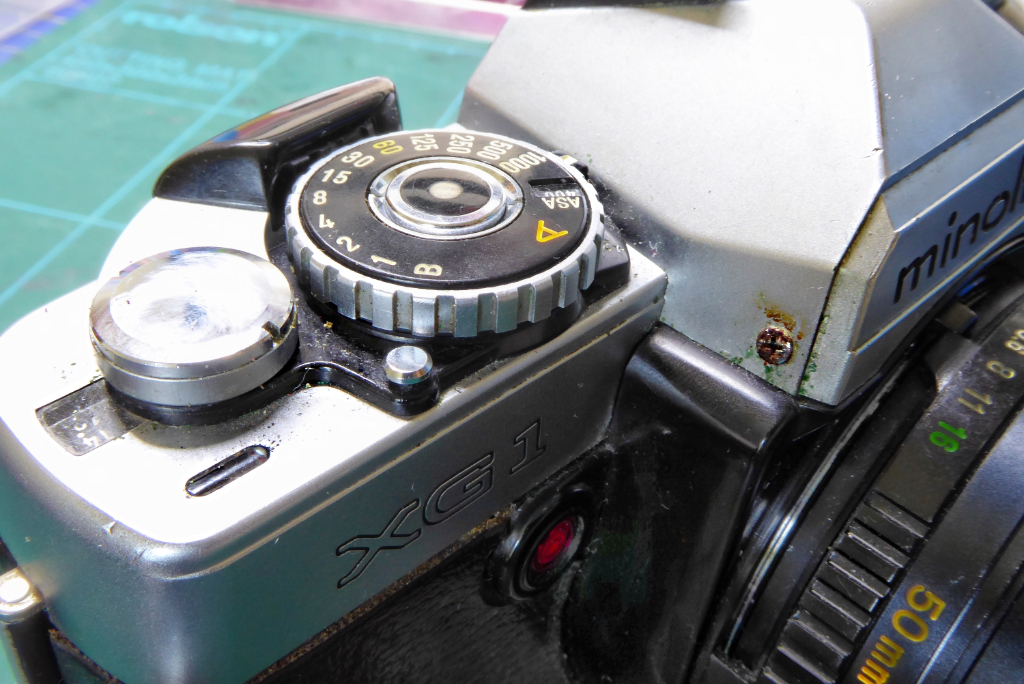
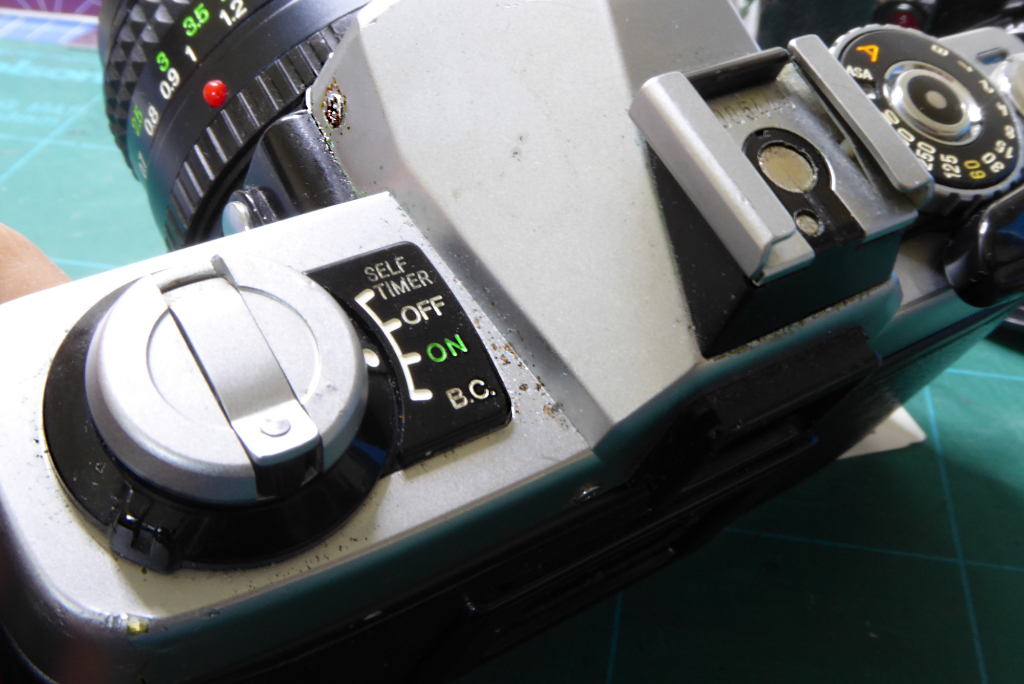
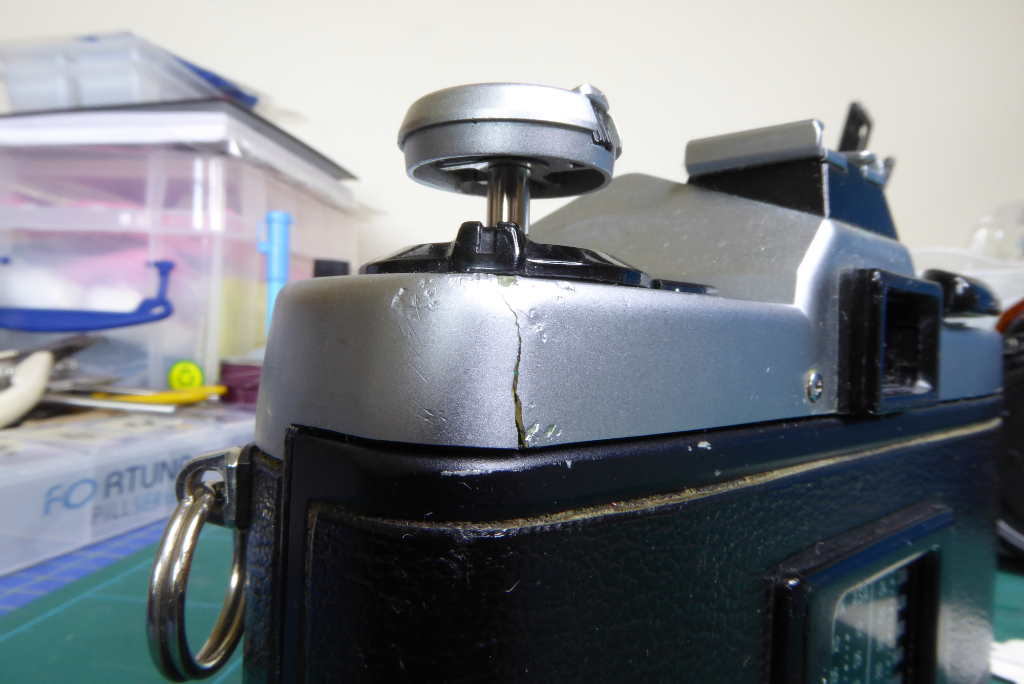
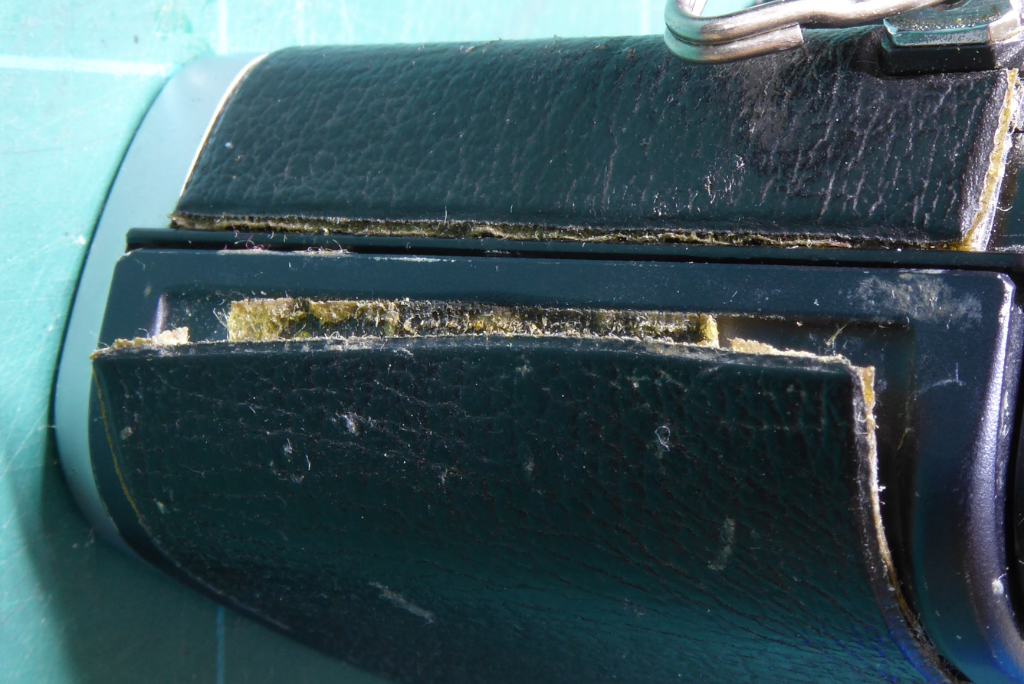
So in short the cosmetics were a mess, in the flesh it looked ten times worse than the pictures. More worrying was the badly gummed up shutter speed dial and the jammed shutter speed lock. The XG-1 has a small silver button to lock the camera in Aperture Priority mode and this was stuck fast. The mode selector dial was also not right – there were no detents on the dial. It should have clicked into each position but instead it just twirled round.
On top of the dreadful overall appearance the camera was completely filthy, it completely reeked of tobacco smoke, old farts and cat piss. This one was going to take some time but I do love old cameras and nothing gladdens my heart so much as getting them running again.
Surprisingly, when I got the shutter speed dial lock unglued and replaced the broken shutter speed dial, the shutter speeds were bang on to factory specification, so at least I wasn’t facing a complete rebuild.
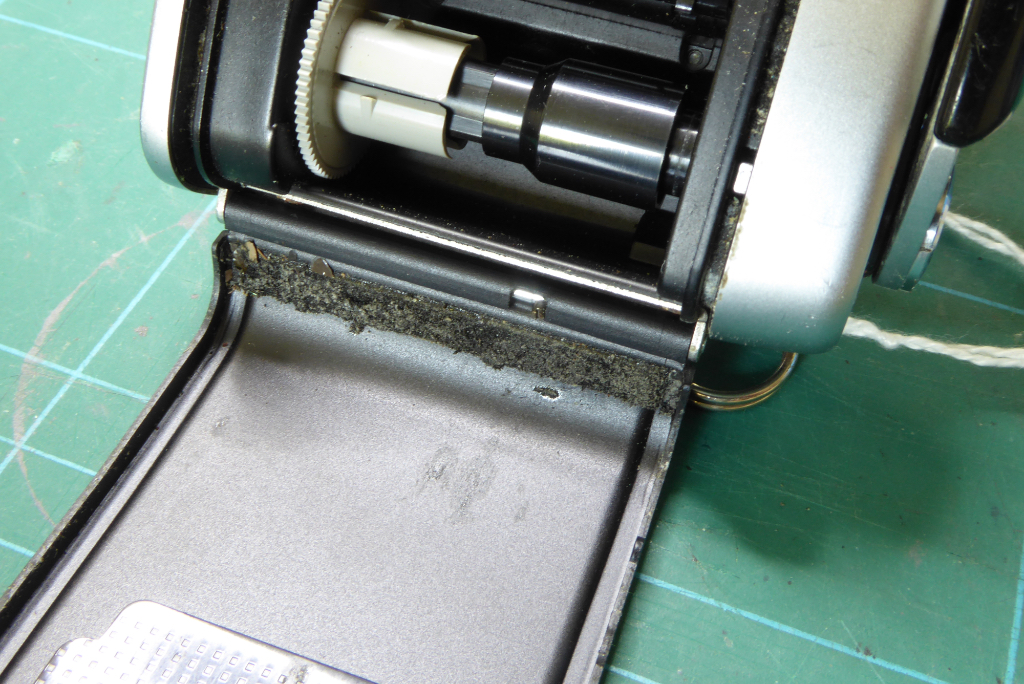
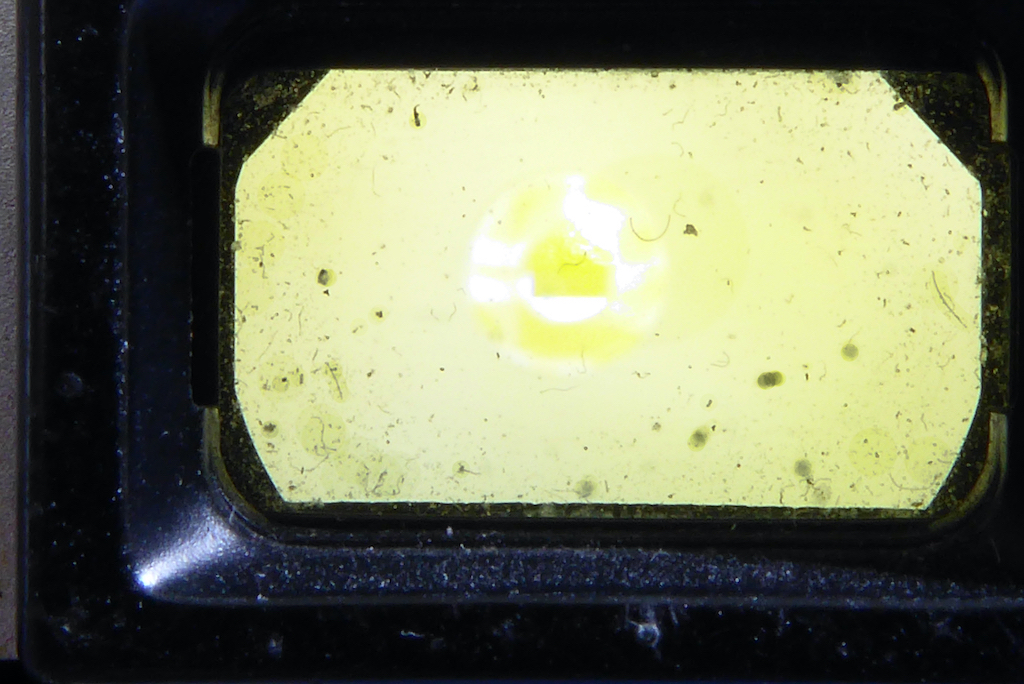
So this one sat on the bench for some time while I hunted for a suitable donor camera. Sure enough an XG-1 with completely blown electronics and a de-silvered prism turned up and so work could commence. One of the biggest horrors with the XG series is a delaminating prism caused by rotting foam. The first task was to get the lid off and take a look inside to find out why the shutter speed dial was jammed and its AP mode lock was stuck. This would also show why the mode selector switch detent was not working and may reveal other issues lurking under the surface.
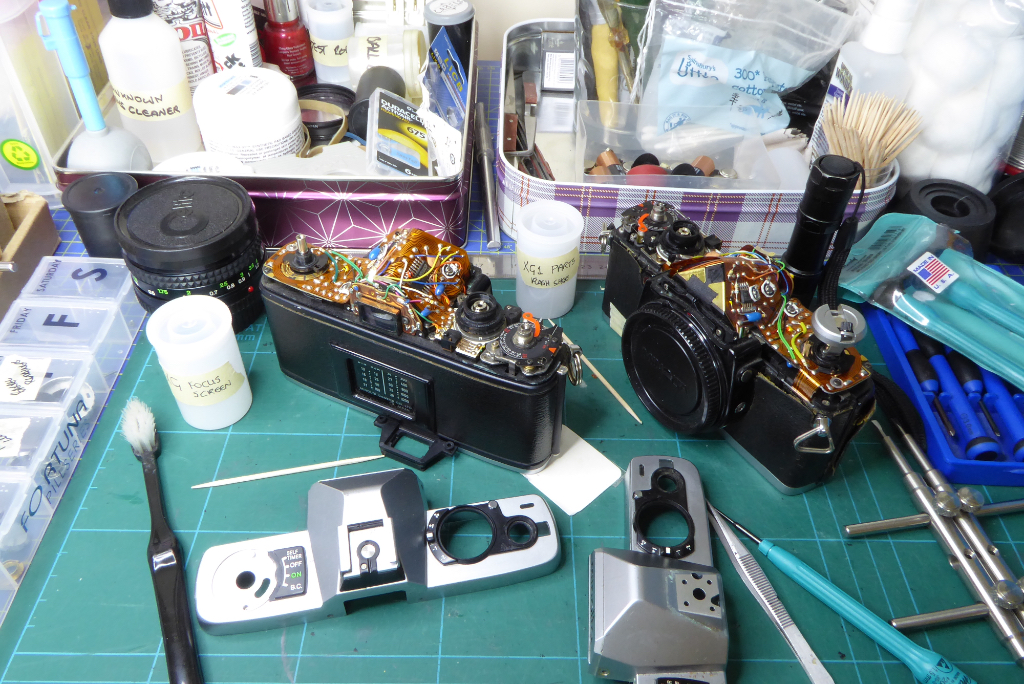
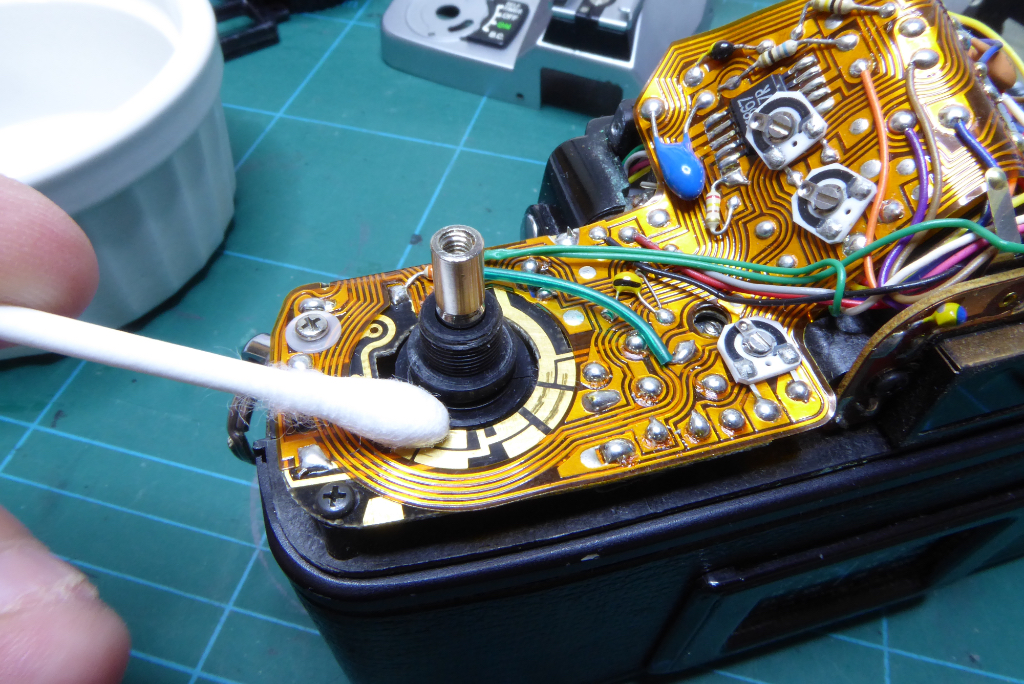
Sure enough, and as I suspected, someone had been messing in here before. The shutter speed and ASA dial were damaged and someone had applied something that looked like Bostik glue to repair them which had leaked onto the AP mode lock button gubbins. It took a very patient hour or so to remove the glue residue and lightly lubricate the lock so that it worked perfectly. The mode selector was missing its small ball bearing. Thankfully the rewind spindle (a common fail on these when handled by the clueless) was intact. What happens is people pull too hard on the rewind spindle to release the door, usually because the seals have gone gummy and jammed the door shut. Relentless pulling on the rewind capstan spindle eventually cracks the spindles shaft. Without the shaft intact theres not much to hold the top cover down or the mode selector so the ball bearing is often lost. Thankfully the donor camera had a full set of usable parts to replace the broken and missing parts on the XG-1 under refurbishment. Sadly the donors cameras leatherwork was in as bad a state as the original camera. The XG-1 used the Minolta soft vinyl leatherette and unfortunately this shrink over time and it’s seldom in a good condition.
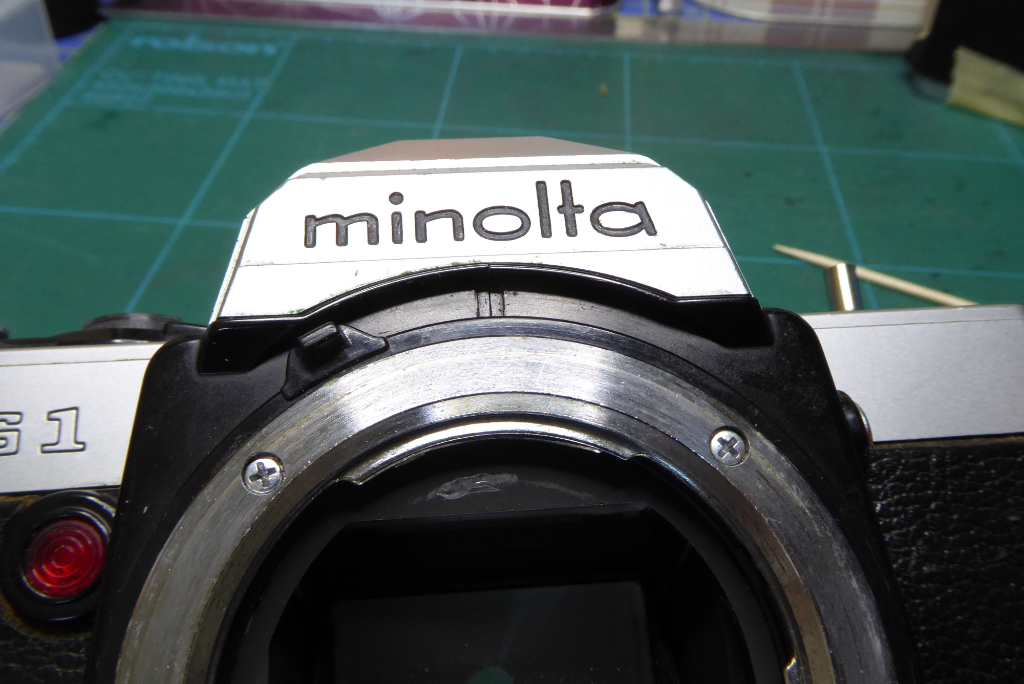
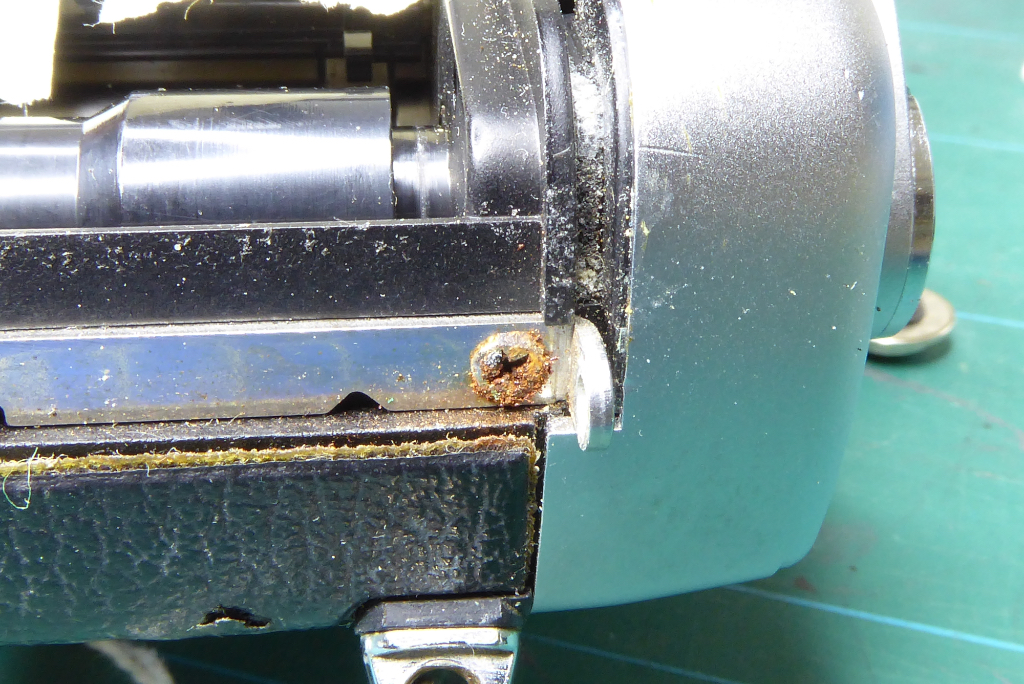
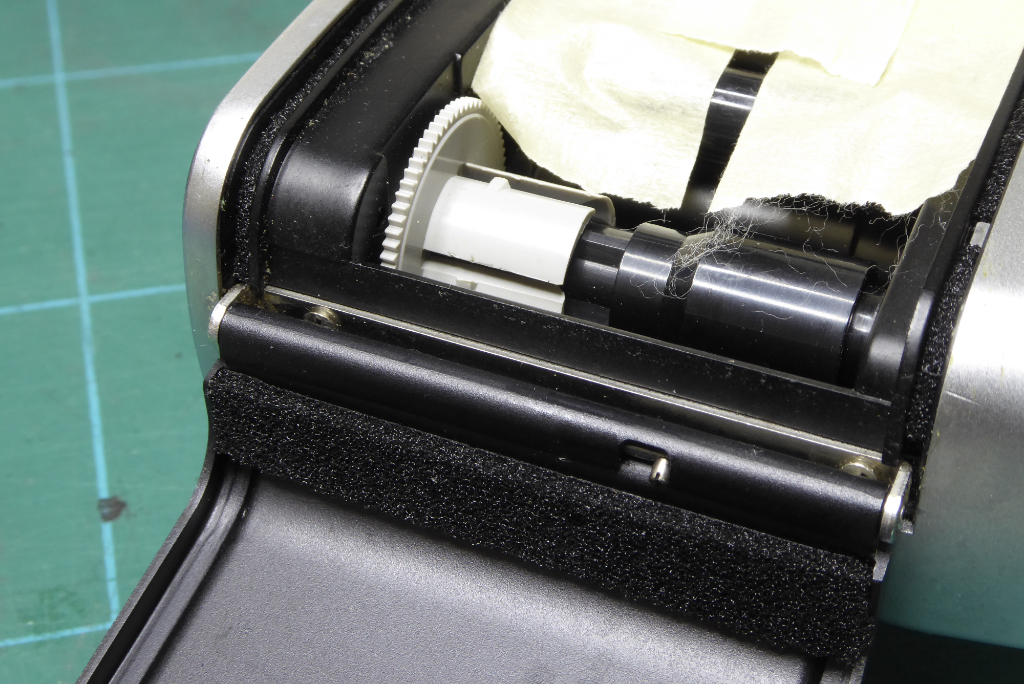
With the shutter speed and mode dial working the camera was set up for shutter testing and amazingly returned results well inside factory specification so at least it would not need a full strip down. Even with the shutter going well a lot of work was needed cleaning the top PCB and cleaning out the various resistor tracks which had gummed up. The winding gears, where required, were lightly oiled or greased appropriately and then the remaining light seals and mirror bumper were stripped out ready for replacement.
It was now time to do the deep cleaning work on the camera to get its optics sparkling and also clean up the aperture resistor as the camera could be a little skittish when shifting aperture.
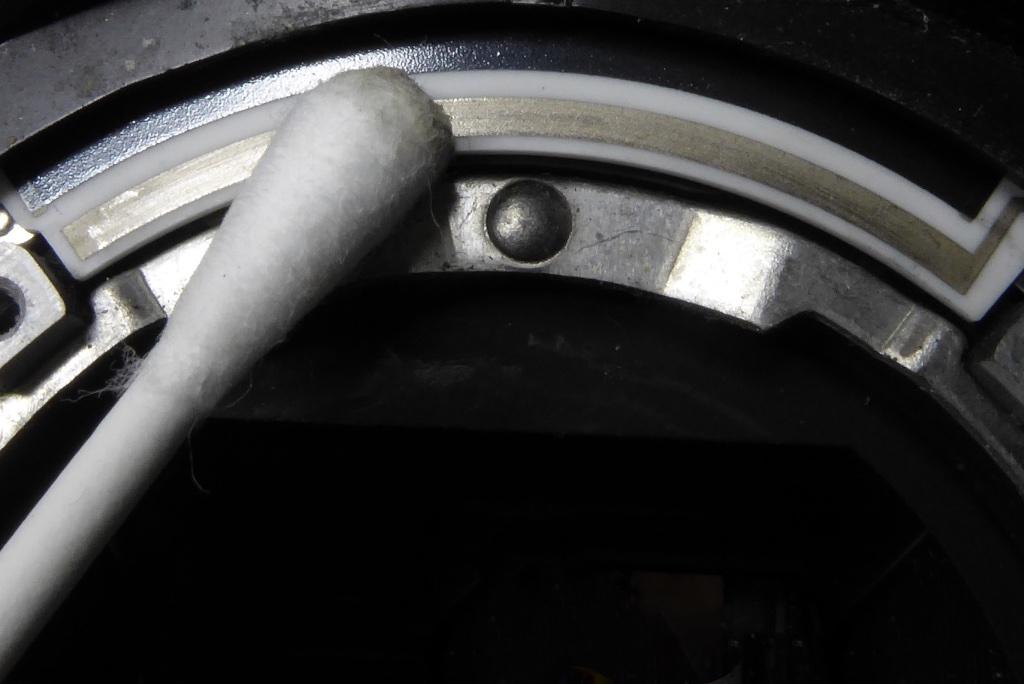
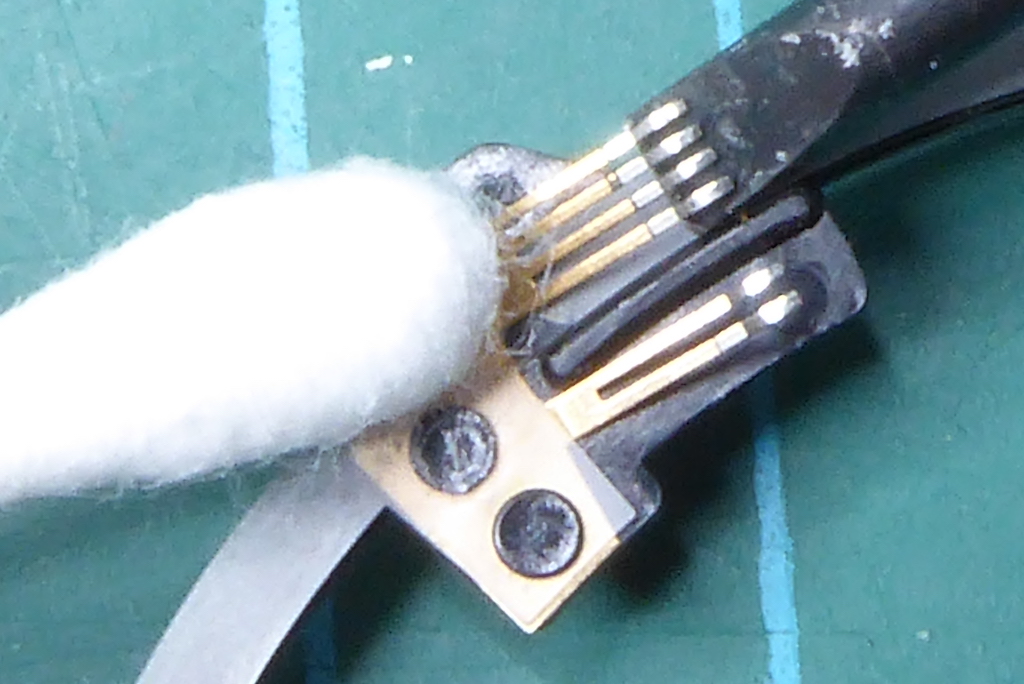
Cleaning the aperture resistor strip is relatively straightforward using some contact cleaner or Isoprop but cleaning the follower ring brushes gives me the yips each and every time. I normally drop a bit of Isoprop or contact cleaner on with a Q-Tip and then VERY gently rub the brushes with a contact abrasive block. The brushes have to be supported during this by a small screwdriver to stop them from being bent. The brushes are incredibly fragile and breakage here is a disaster.
Now it was time to get to work on the optics…
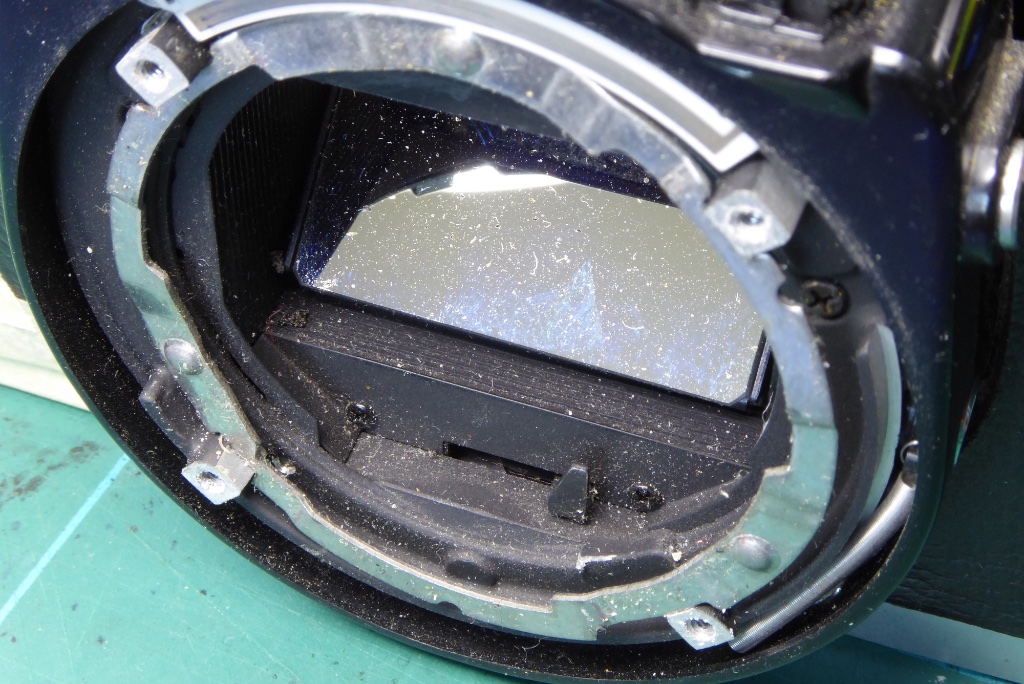
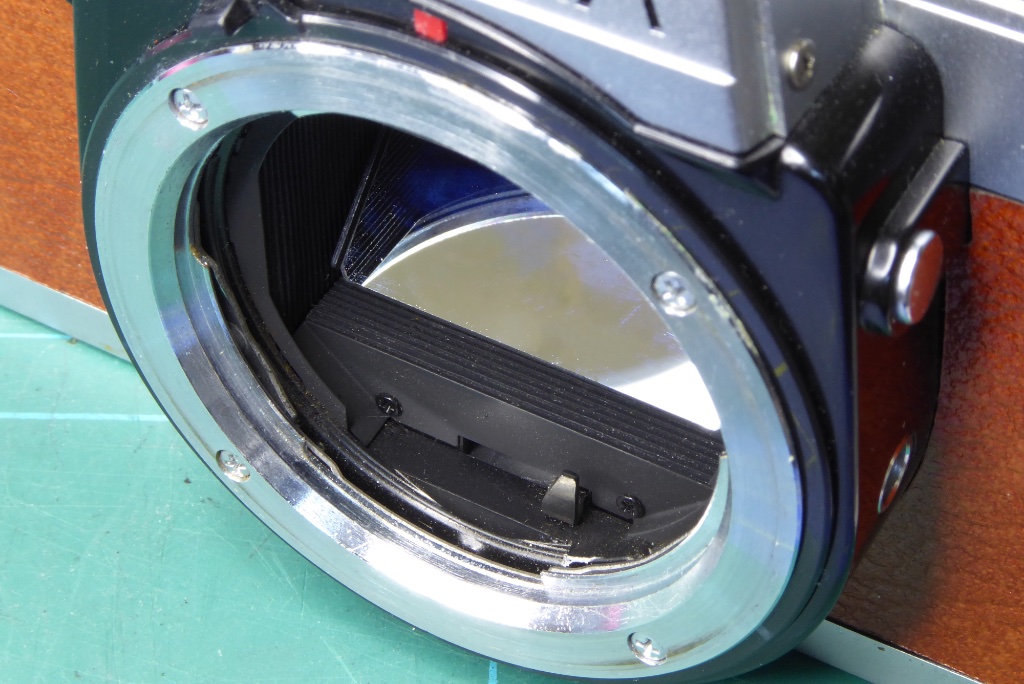
The optical train needed a lot of care. With the top off the eyepiece assembly was carefully cleaned with distilled water and Isoprop and then softly buffed. The prism surfaces were given a clean. Normally I would only use distilled water but in this case decaying muck form the mirror bumper had gotten between the focus screen and the prism. So a mild and very careful clean with dilute Isoprop was used. Similarly the prism surface facing the eyepiece was contaminated with what I assume was old tobacco smoke and this also needed cleaning with Isoprop and distilled water.
The focus screen was totally filthy with gum from light seals and tobacco smoke. Normally I clean focus screens with my favourite method of immersion in water with a very mild detergent before being flushed in distilled water and cold air blown dry. This screen was so bad I had to resort to a technique I adapted from cleaning telescope mirrors.
I apply a blob of mild washing up liquid, this has to be bleach free and ideally pH neutral or close to it. Focus screens don’t like harsh chemicals as they can melt or be otherwise ruined. I Apply a blob of the washing up liquid onto the screen and gently agitate it with my finger which has been softened with soap beforehand. The object is not to rub my fingers on the screen which will damage it but to gently roll the blob of liquid around – the finger just rides on the blob of liquid. Once done it’s flushed off with clean water. I like to do a final rinse with distilled water and then cold air blow dry with a rocket blower. The distilled water never leaves any residue. Done carefully and well this usually returns excellent results.
The mirror was cleaned with breath and gentle application of a Q-Tip. It’s best on a mirror to avoid any chemicals. During this process the mirror box was cleaned out of stray particles using low tack tape to adhere to the surfaces and then being pulled away before being carefully cleaned with a moist cotton bud and then finally vacuumed and blown out. The final finish was very pleasing and the view through the viewfinder was immaculate.
A new mirror bumper was installed after cleaning the optics out and then the focus screen was replaced.
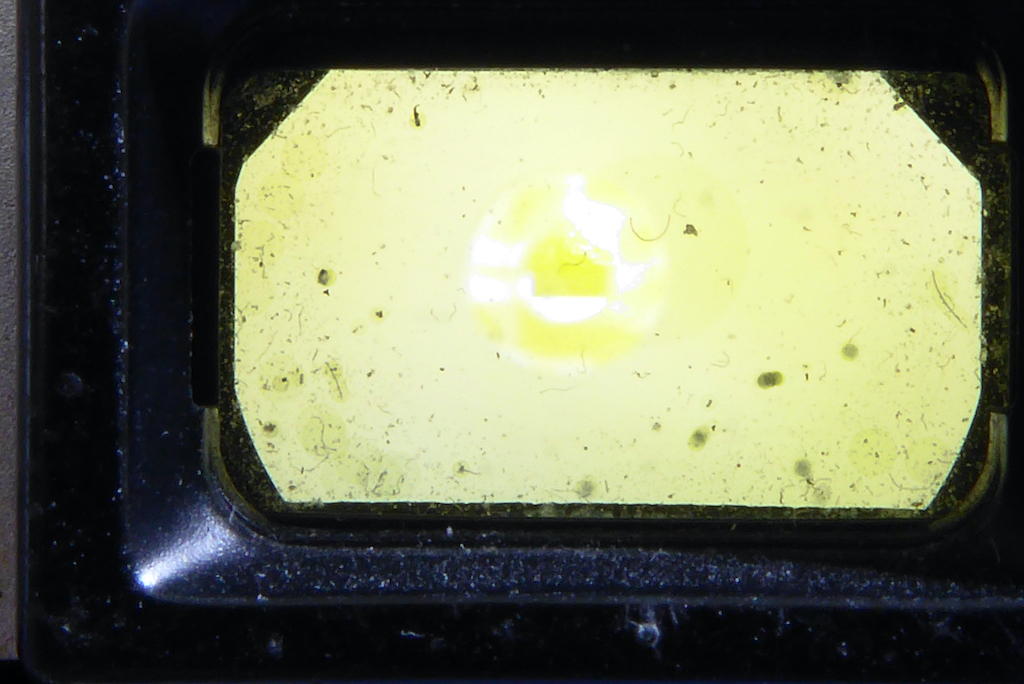
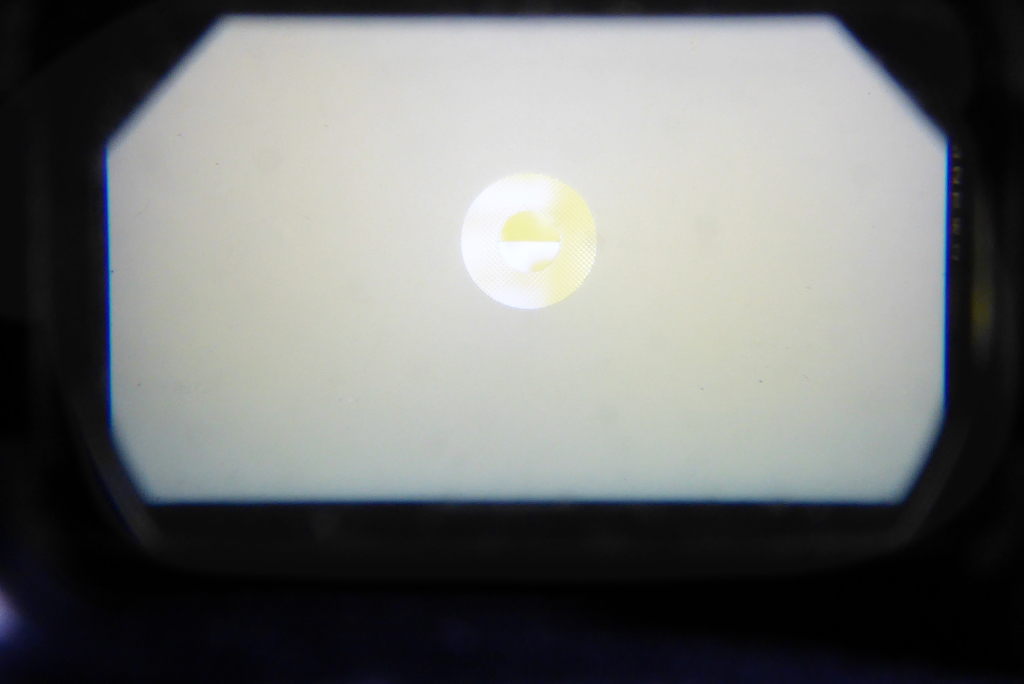
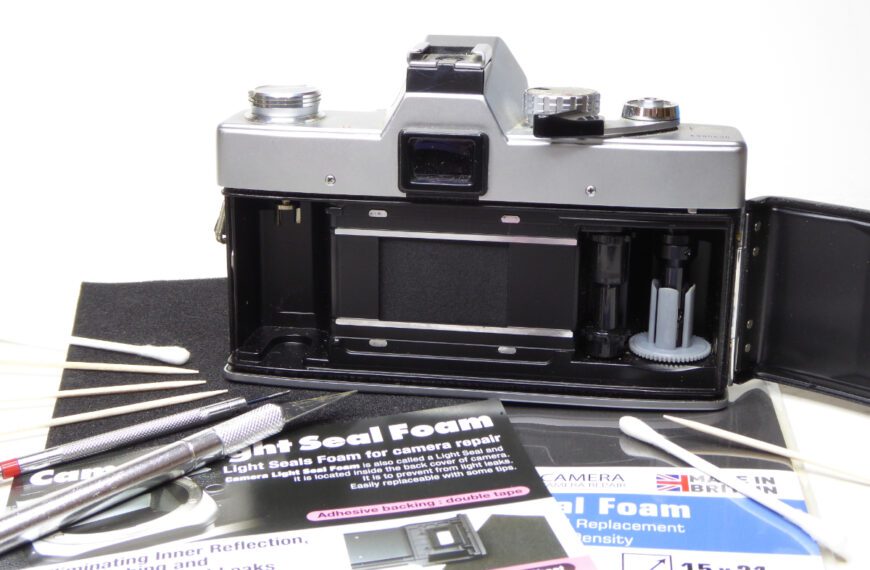
After a complete cleaning, some judicious lubrication and some slight tweaking the camera body came back onto form and handled like almost new. It was now time to get on with the lens and get some good quality light seals fitted. This camera provided a nice update to the light seals guide for any XG-1 owners who may need new seals.
The lens was in a state not too different from the camera with hazy elements, stiff focus and generally dirty both inside and out. Thankfully no oil was on its aperture and no fungus in its optics. This was an an early model MD 50mm f1.7 lens and was most likely the original lens with the camera. Wherever possible I try and keep all refurbishments accurate, using whatever lens would have been supplied with the camera. A great many XG-1s were supplied with the Rokkor 45mm f2 which, believe it or not, was a cheap lens back when the XG-1 was a budget camera for the aspiring photographer.
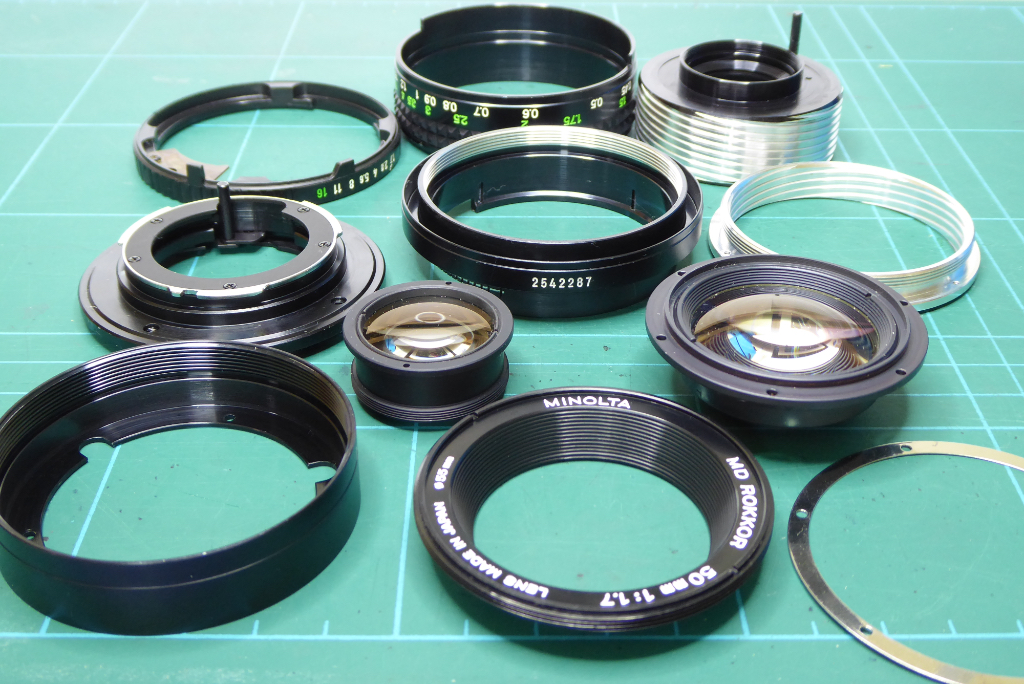
With the XG-1 and its lens fully refurbished it was time to get out and shoot with it to make sure that under real life conditions she would run reliably. I never sell a camera I wouldn’t be happy to shoot with myself and the XG-1 is no exception
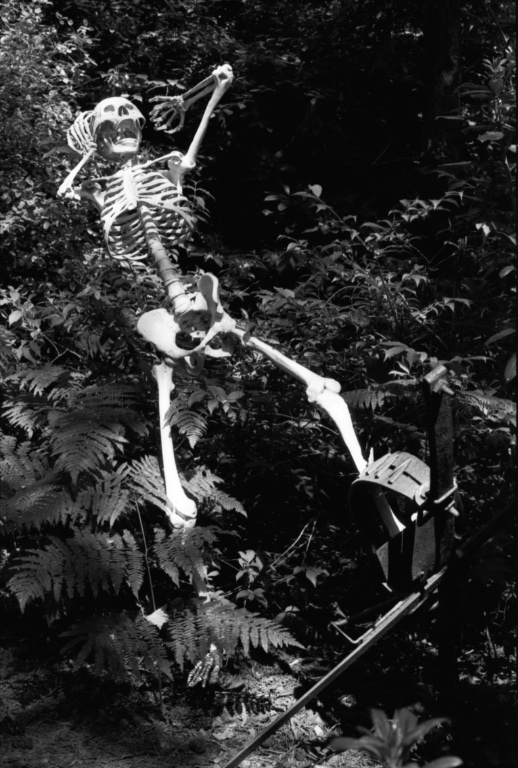
The original poor quality leatherette was lightly glued into place and she was taken out for a run at the Surrey Sculpture park with some Ilford FP4.
I have to say for all the bad mouthing the XG-1 gets from camera snobs she shot wonderfully well and I found myself enjoying this most humble of Minoltas creations. For someone new to film this camera offers quite a bit. It has a very positive feel, a nice smooth film advance and a very smooth shutter pull off. It’s light and compact and its AP mode is spot on at getting a good exposure.
The lens returned some beautifully sharp images but I chose this one to illustrate the article as it kind of sums up how I felt at times getting this one going.
After film testing had produced some very satisfactory images the only challenge left was to get the leatherette sorted out. Normally I would stick with whatever the camera had originally but I felt after all the work that’s gone into this one she deserved a little something special so opted for a two-tone red leatherette from Hugo Studios. The original leatherette was removed and the camera surfaces cleaned of any residues with a mild Isoprop solution. Replacing leatherette has its risks. On many cameras it forms part of the light sealing. Under the back door of an XG there are numerous holes. I imagine these were originally for a film memo holder that was never fitted to the early XGs. To prevent any possible problems for a future owner I sealed these with some insulation tape under the leatherette and small patches of light flocking on the inner door beneath the film pressure plate.
With her new leatherette, new top plate and cleaned up body parts she really does look very beautiful.
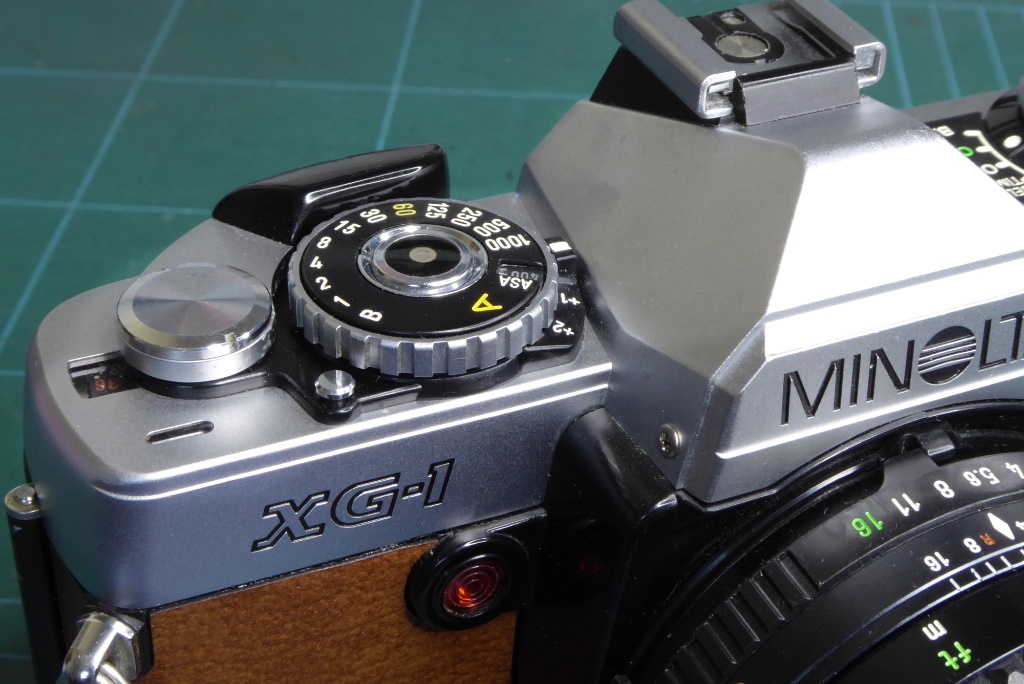
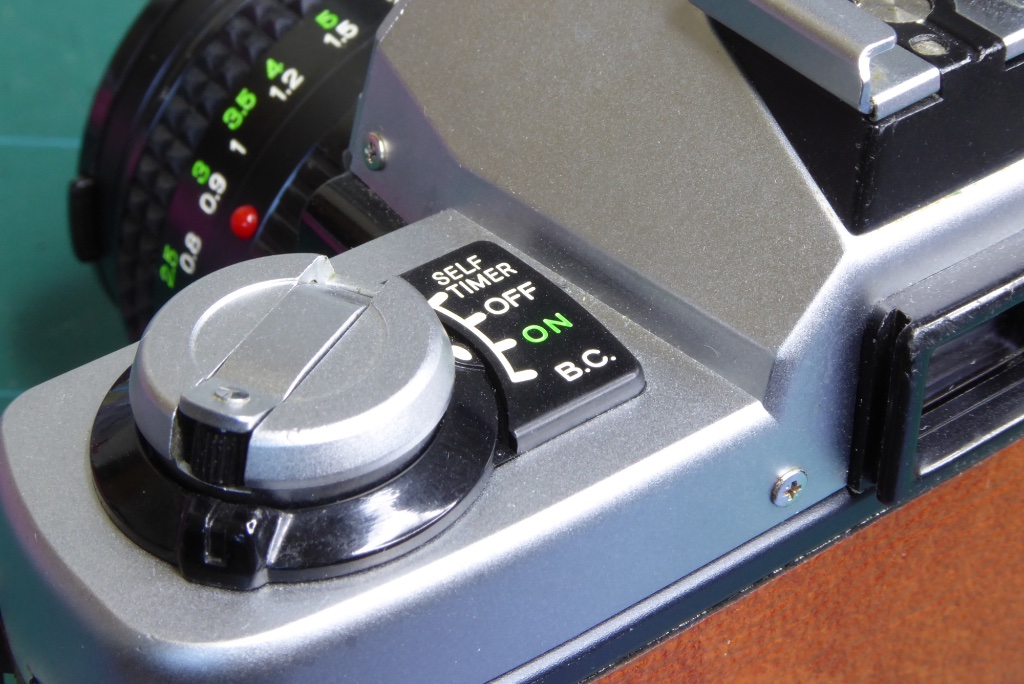
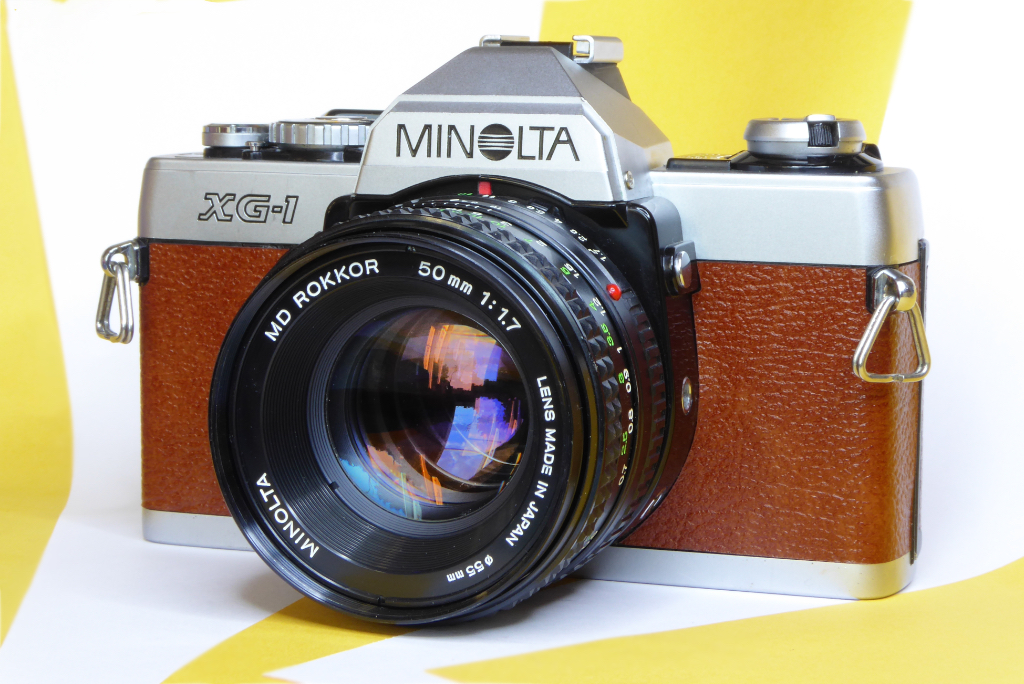
So it’s journeys end. I think of this one as the revenant for good reason. She has literally come back from the dead! Few camera techs would consider an XG economic to repair and refurbish but on the journey through I learnt more about the XG series. I doubt I would do another one as it just isn’t economic to put this kind work and resources into a camera which I cant sell at a price that makes any sense but, for someone out there the revenant will be a beautiful camera to use and enjoy.
Whoever that person is I wish them happy shooting and may all of their pictures be as beautiful as the camera that took them.
My thanks to Eugene Pate of Learn camera Repair for his amazingly useful guide on the XG and to all of the folk on the Learn Camera Repair FB group for their help encouragement over the past few years which has helped give me the skills and confidence to tackle repairs to so many cameras.
Further Reading

Mel is one of the driving forces behind High 5 Cameras and writes all our articles.
Starting serious photography back in 1972. Over the years she got to shoot film with most of the major brands in 35mm and large format as both a studio photographer and content provider for websites in the early life of the web. These days she is rediscovering photography and has become the GOTO person for knowledge on camera repair advice.


Hey there,
Great to see this. I have a XG-2 and I went through a similar journey cleaning it up and replacing the leatherette. The only thing is, it suffers from shutter getting stuck in A mode sometimes. I am told it is due to dirty contact for shutter speed/ASA dial. I have taken the top off but can not see how to set to the tracks to clean it. Can you offer any clues?
Thanks
Yat
Hi, You need to remove the shutter speed assembly to get to the tracks. The best advice I could give would be to have a look at the Learn Camera Repair Site where there is a guide to doing a complete CLA on the XG. The site is at https://learncamerarepair.com/
To keep the site going there is a $1 charge to download manuals which is very reasonable. Eugene Pate has a complete tutorial on the XG.
Something you may want to check first is power – the XG like many cameras – is quite fussy about power so make sure you have no corrosion in the battery chamber and that the contacts are clean and also make sure the battery is in a good state and also that its faces are clean. Even a trace of finger grease is enough to stop these working sometimes.